Last week at our neighborhood potluck, Maria's Mexican Chicken & Rice Casserole disappeared within minutes, leaving several guests asking for her recipe. We're not surprised, as this hearty dish has become a go-to favorite for busy families and entertaining hosts alike. It's the kind of meal that's evolved from traditional arroz con pollo into something uniquely suited for modern American kitchens, while still maintaining its authentic Mexican charm. Whether you're feeding a crowd or planning tomorrow's dinner, we'll show you how this versatile casserole can become your new signature dish.
Table of Contents
ToggleHistory
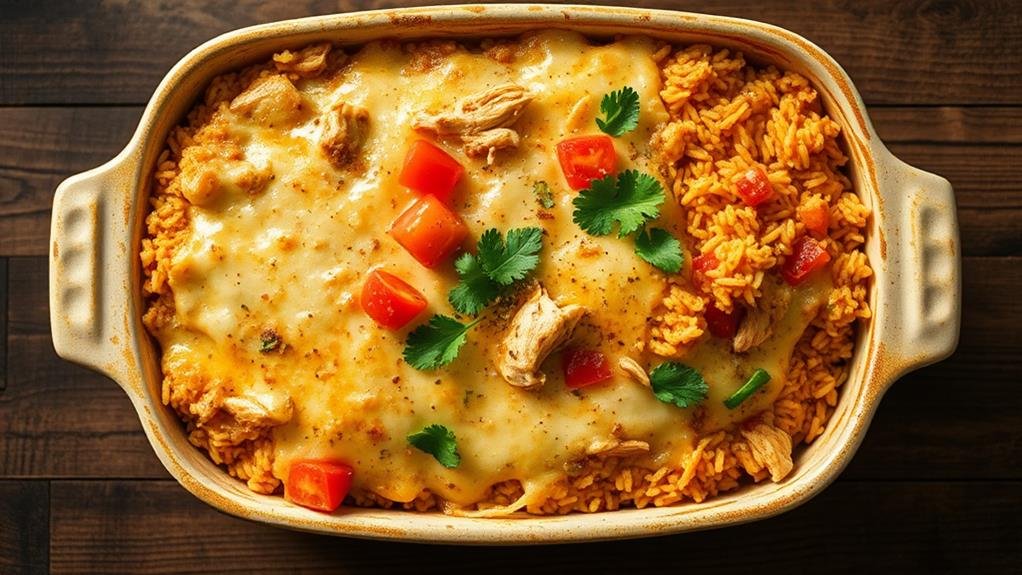
Mexican Chicken & Rice Casserole grew out of the traditional Mexican dish arroz con pollo, which dates back several centuries. We can trace its evolution through the influence of both Spanish colonizers and indigenous Mexican cooking methods, where rice was introduced to the Americas by European settlers and quickly became a staple ingredient in Mexican cuisine.
The essence of traditional rice dishes lies in sharing and communal dining, making this casserole an ideal dish for family gatherings and celebrations. The modern casserole version known nowadays emerged in the mid-20th century when American home cooks began adapting traditional Mexican recipes to suit their busy lifestyles. During this period, the rise of convenience foods like canned enchilada sauce and pre-shredded cheese made it easier to recreate Mexican flavors at home.
The casserole format became popular as it allowed families to enjoy the classic combination of chicken and rice in a format that could be prepared ahead and served family-style. Traditional rice dishes have continued to inspire modern adaptations, and we've observed this dish continue to evolve, with different regions adding their own touches, like using green chilies in the Southwest or incorporating different cheese blends. Today's version maintains the essence of arroz con pollo while offering the convenience modern cooks require.
Recipe
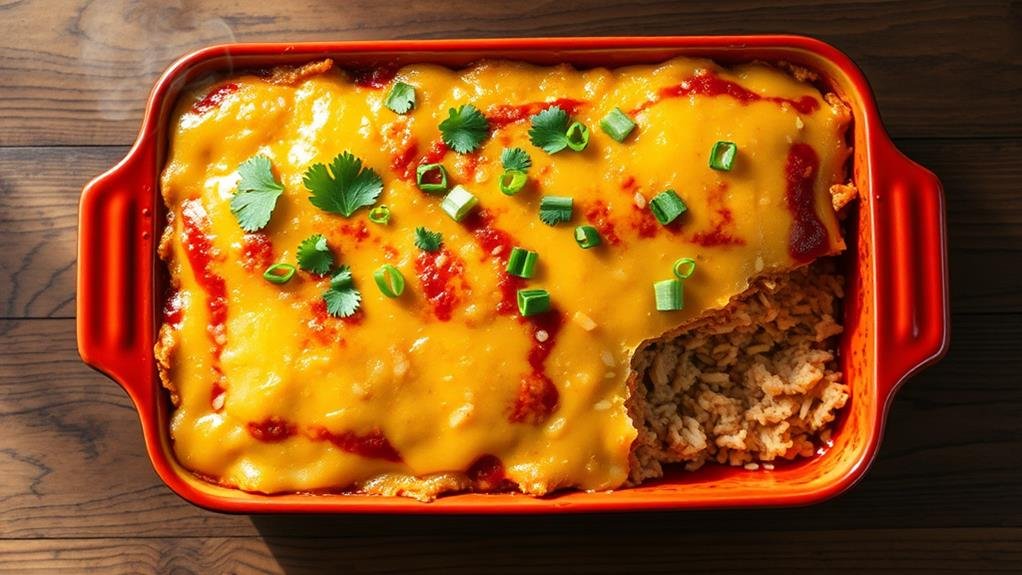
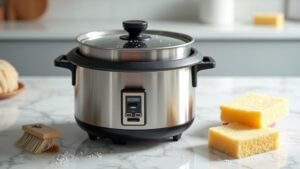
Mexican Chicken & Rice Casserole is a hearty, flavorful dish that combines tender shredded chicken, fluffy rice, and rich enchilada sauce, all topped with melted cheese. This comforting casserole brings together classic Mexican flavors in a convenient, family-friendly format that's perfect for weeknight dinners. Utilizing a 3 cup rice cooker can simplify cooking the rice, allowing for quicker meal prep without sacrificing taste. This simplified version requires minimal preparation while delivering maximum flavor, making it an ideal choice for busy households. The layered approach ensures that every bite contains the perfect balance of ingredients, while the combination of red enchilada sauce and green chilies provides an authentic Mexican taste profile.
- 4 cups cooked white rice
- 3 cups shredded rotisserie chicken
- 2 cans (10 oz each) red enchilada sauce
- 2 cups shredded Mexican cheese blend
- 1 can (4 oz) diced green chilies
Preheat oven to 375°F and grease a 9×13 inch baking dish. Begin layering by spreading half of the cooked rice in the bottom of the dish, followed by half of the shredded chicken. Pour half of the enchilada sauce over the chicken layer, then sprinkle with half of the cheese and half of the green chilies. Repeat these layers with the remaining ingredients. Cover the dish with foil and bake for 25 minutes, then remove the foil and continue baking for an additional 10 minutes until the cheese is bubbly and golden brown.
For best outcomes, let the casserole rest for 5-10 minutes before serving to allow it to set properly. The rice can be prepared a day ahead and stored in the refrigerator, though this may require extending the baking time by 5-10 minutes. Ensure the enchilada sauce is evenly distributed throughout the layers to prevent dry spots, and always cover the casserole with foil during the initial baking phase to maintain moisture. If desired, garnish with fresh cilantro, diced tomatoes, or sliced green onions before serving.
Step By Step
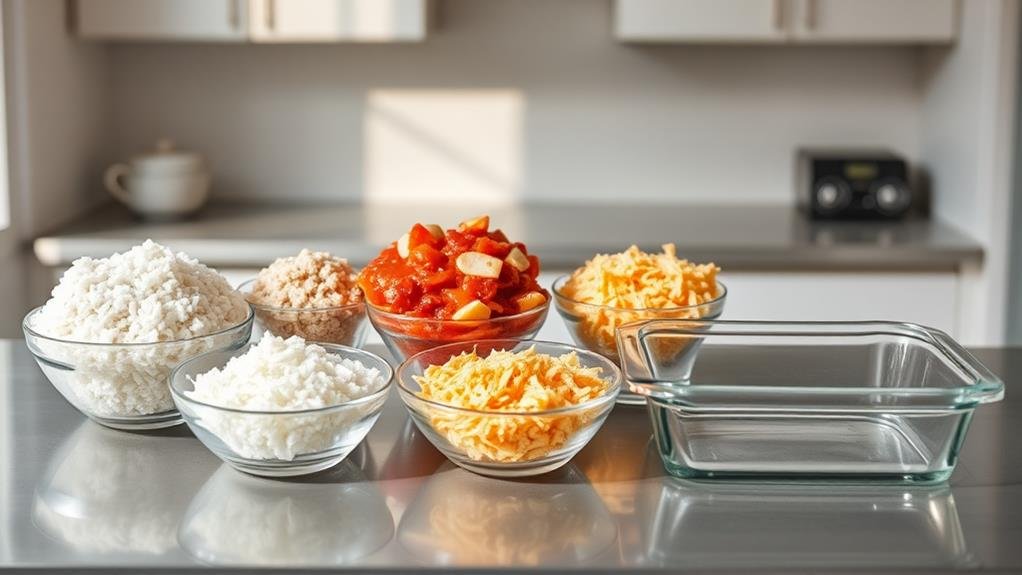
Let's walk through the simple steps to create this Mexican casserole together, starting by preheating our oven to 375°F and greasing a 9×13 inch baking dish.
We'll layer half the rice, chicken, enchilada sauce, cheese, and chilies, then repeat with remaining ingredients before covering with foil and baking.
After the casserole is golden and bubbly, we'll let it rest for 5-10 minutes to set properly before serving.
Step 1. Heat Oven to 375°F
Before assembling our flavorful casserole, we'll start by preheating the oven to 375°F. This temperature guarantees our Mexican Chicken & Rice Casserole cooks evenly and achieves the perfect balance of melted cheese and heated ingredients without drying out the rice or chicken.
While the oven preheats, we'll have time to gather our ingredients and prepare our baking dish. It's important not to skip this preheating step or start with a cold oven, as it could impact the cooking time and final texture of our casserole.
We'll know our oven is properly preheated when it signals or when an oven thermometer reaches 375°F, typically taking 10-15 minutes.
During this preheating time, we'll also want to position our oven rack in the middle position, which will help distribute heat evenly throughout the casserole.
If we're using a glass baking dish, we should remember that it retains heat differently than metal pans, but 375°F remains the ideal temperature for either type of baking dish.
Step 2. Grease the Baking Dish
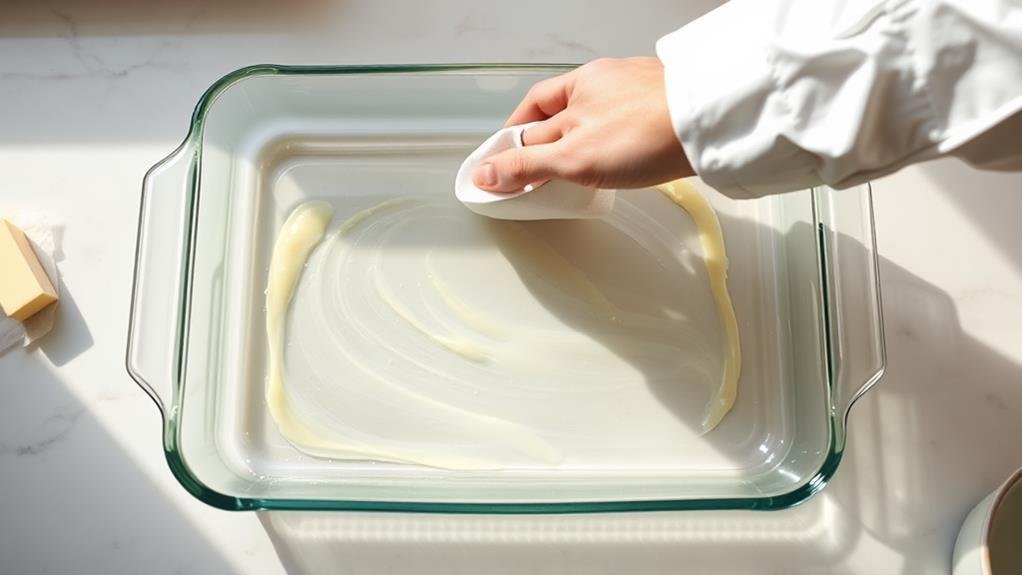
Preparing up our 9×13 inch baking dish with a proper coat of grease is essential for preventing the casserole from sticking and ensuring easy serving. We'll want to choose between non-stick cooking spray, butter, or oil for this task. Non-stick cooking spray offers the most convenient and even coverage, while butter adds a subtle flavor that complements the Mexican ingredients.
If we're using cooking spray, we'll hold the can about 6 inches from the dish's surface and spray in a sweeping motion to cover the bottom and sides completely.
For butter, we'll use a paper towel or clean fingers to spread about 1 tablespoon of softened butter across all surfaces.
With oil, we'll pour about 1 tablespoon into the dish and use a pastry brush or paper towel to distribute it evenly.
Let's make sure we don't miss the corners and edges of the dish, as these areas are most prone to sticking.
We'll also want to grease slightly up the sides, about 1 inch high, since our casserole will expand slightly during baking.
Step 3. Layer Rice and Chicken
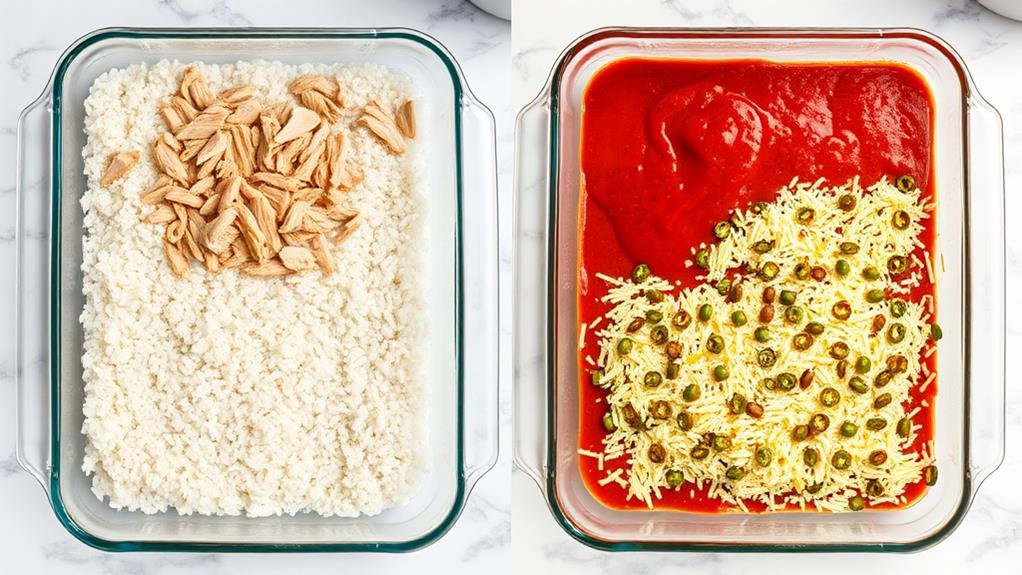
With our baking dish properly greased, we'll begin the layering process that forms the heart of this Mexican Chicken & Rice Casserole. First, we'll spread half of our cooked white rice (2 cups) evenly across the bottom of the 9×13 inch dish, making certain to create a uniform base layer that reaches all corners.
Next, we'll distribute half of our shredded rotisserie chicken (1½ cups) over the rice layer. It's crucial to spread the chicken pieces evenly to guarantee each serving will have a balanced amount of ingredients. Don't worry about making it perfect – just aim for relatively even coverage.
Now we'll pour one can of enchilada sauce over these first layers, using a spatula to spread it evenly if needed. We'll top this with one cup of the Mexican cheese blend, followed by half of our diced green chilies. The chilies should be dispersed evenly to provide consistent flavor throughout the dish.
We'll repeat this entire process with our remaining ingredients, creating a second identical layer that mirrors the first. This double-layer approach assures every bite delivers the perfect combination of flavors.
Step 4. Add Sauce and Cheese
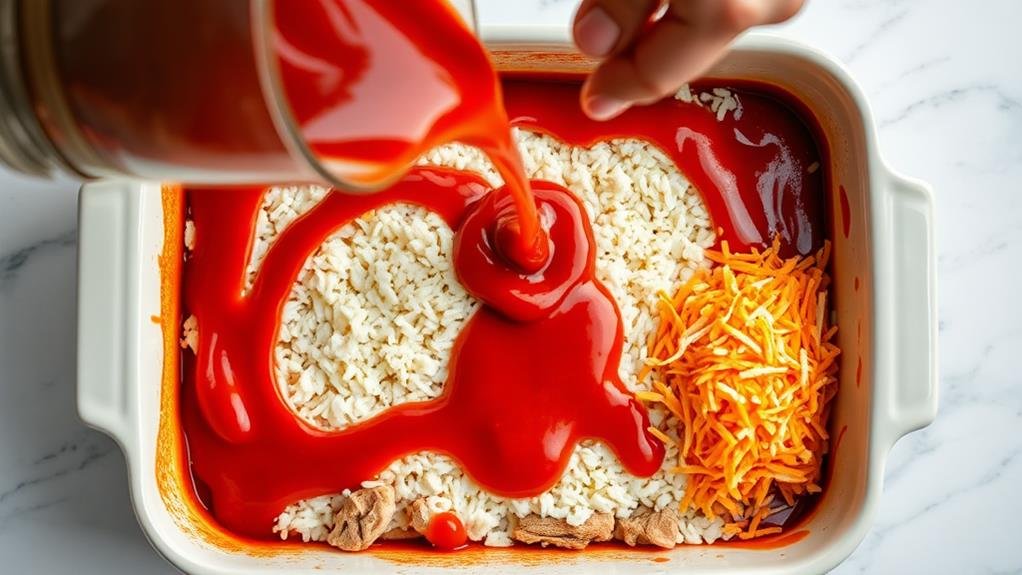
Moving on to the sauce and cheese layers, we'll carefully pour one can of our red enchilada sauce over the initial chicken layer, guaranteeing even coverage from edge to edge.
Now, we'll sprinkle half of our Mexican cheese blend across the sauce, creating a uniform layer that'll melt beautifully during baking.
Next, we'll distribute half of the diced green chilies evenly over the cheese.
It's time to repeat our layering process. We'll add the remaining rice, followed by the rest of our shredded chicken.
Pour the second can of enchilada sauce over this new chicken layer, making sure to reach the corners. The sauce is vital for keeping our casserole moist and flavorful during baking.
Finally, we'll top everything with our remaining cheese and green chilies. Don't worry if some of the sauce pools slightly at the edges – it'll distribute evenly as it heats up.
Before we move to baking, we'll check that all our layers are even and well-distributed, which guarantees every bite will have the perfect balance of flavors.
Step 5. Let Rest After Baking
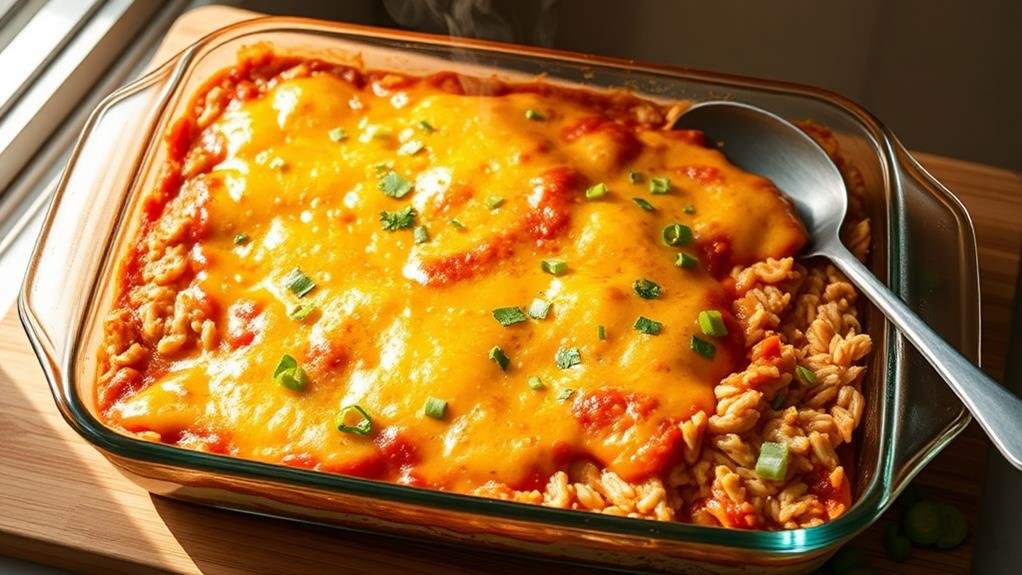
The rest period is an essential final step after your Mexican Chicken & Rice Casserole emerges hot and bubbly from the oven. We'll need to let it stand for 5-10 minutes, which allows the melted cheese to set and the layers to firm up properly.
During this time, the internal temperature will gradually stabilize, making it easier to serve neat, clean portions.
While we wait, let's understand why this step matters. The resting period gives the excess moisture time to redistribute throughout the casserole, ensuring that the rice doesn't become mushy and the chicken stays tender.
If we cut into it too soon, the hot liquid could rush out, leaving us with a messy serving and potentially dry spots in the remaining portions.
You'll know the casserole is ready to serve when it's still warm but no longer piping hot, and the cheese has set enough to hold its shape when cut.
We can use this time efficiently by preparing any side dishes or garnishes, such as fresh cilantro, sour cream, or sliced avocados.
Conclusion
From the moment the bubbling casserole emerges from our oven, we're greeted by the mouthwatering aroma of Mexican spices and melted cheese. As we indulge in this hearty dish, we'll discover tender shreds of chicken nestled in perfectly cooked rice, all blanketed in rich enchilada sauce and gooey cheese. It's our go-to comfort food that brings the warmth of traditional Mexican cooking right to our dinner table.


