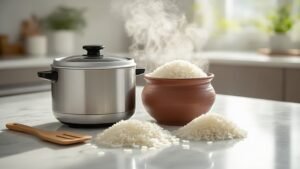
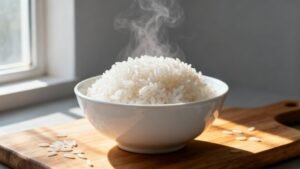
We’ve all been there—you think you’ve mastered rice cooking, but somehow it turns out mushy, burnt, or weirdly crunchy. Well, maybe it’s not entirely your fault. Rice cookers should make things foolproof, but there’s actually a bit more technique involved than just dumping rice and water together. The truth is, even with the best equipment, small mistakes can turn your perfectly planned meal into something you’d rather not serve.
Table of Contents
ToggleSelecting the Right Type of Rice for Your Rice Cooker
When we’re picking rice for our cooker, it’s honestly like choosing the right tool for the job – and trust me, the type you select will make or break your final dish.
Short grain rice, especially Koshihikari, gives us that sticky texture that’s perfect for sushi. Long grain rice like Jasmine rice creates light, fluffy results. I’m particularly fond of Thai Hom Mali for its incredible aroma.
Remember to rinse your rice until water runs clear – it prevents gumminess. The rice-to-water ratio typically stays at 1:1, though cooking time varies by variety. Additionally, consider experimenting with different rice types to find the perfect match for your preferred texture and flavor.
Washing and Rinsing Rice for Optimal Results
Now that we’ve got our rice variety sorted out, let’s talk about something that honestly makes all the difference – getting that rice properly cleaned before it hits the cooker. Washing rice removes excess starch that causes stickiness and mushiness. We’ll rinse with cold water 1-2 times, using our hands to gently move grains around. A metal strainer works great too – just rinse until water runs mostly clear. You’ll know it’s done when grains look shiny. Keep in mind that washing enriched white rice removes some nutrients, but the improved texture is usually worth it. Proper rinsing helps to remove excess starch, which is crucial for achieving the perfect rice texture.
| Step | Method | Water Type | Duration | Result |
|---|---|---|---|---|
| 1 | Hand rinse | Cold water | 30 seconds | Removes surface starch |
| 2 | Gentle agitation | Cold water | 30 seconds | Loosens debris |
| 3 | Strainer method | Cold water | 1 minute | Thorough cleaning |
| 4 | Final check | Cold water | Until clear | Shiny grains |
| 5 | Drain | None | 30 seconds | Ready for cooking |
Water-to-Rice Ratios for Perfect Texture
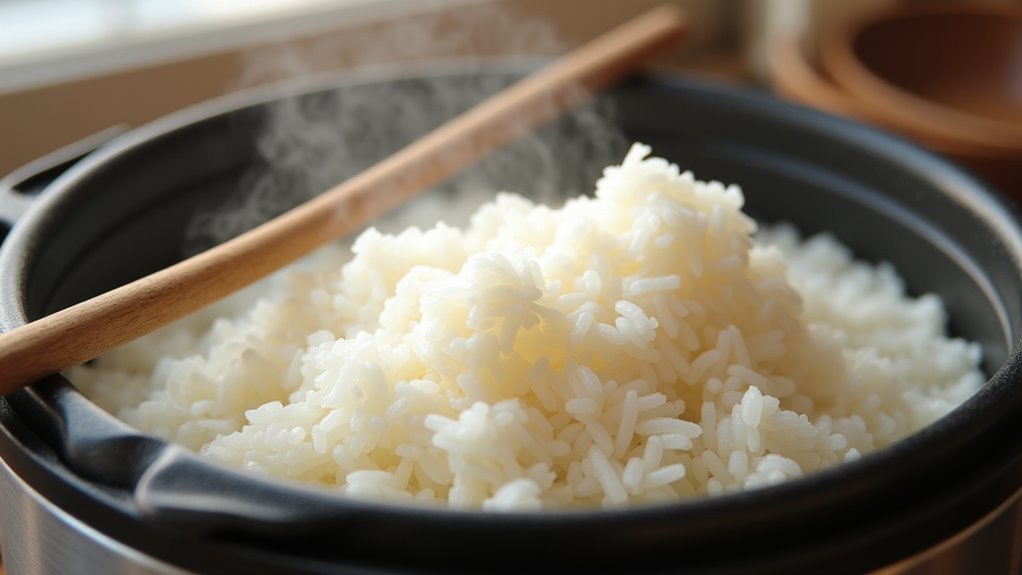
Three simple ratios will transform your rice from disappointing mush to restaurant-quality perfection, and honestly, once you’ve got these down, you’ll never second-guess yourself again.
For most white rice in your rice cooker, we’ll use 1 cup of rice to 1.25 cups of water. Long grain rice needs more—actually, bump that water ratio to 1.5 cups per cup of rice. Short grain rice? Just 1.2 cups of water works perfectly.
Before cooking rice, don’t forget to soak the rice for twenty minutes. Trust me, this step makes all the difference when you fluff the rice later. Additionally, for brown rice, you’ll need to adjust the water ratio to about 2.25 cups of water per 1 cup of dry rice for optimal cooking.
Operating Your Rice Cooker Properly
First, we’ll measure our rice using the rice cooker’s measuring cup, then wash your rice with cold water until it runs clear.
Next, add water following that vital 1:1 ratio we discussed earlier.
Place the pot back in your rice cooker, secure the lid, and select your cooking setting.
Don’t peek! When your rice is done, let it rest five minutes before fluffing for perfectly fluffy rice. Additionally, remember to rinse rice thoroughly to ensure contaminants are removed before cooking.
Resting and Fluffing Techniques for Fluffy Rice
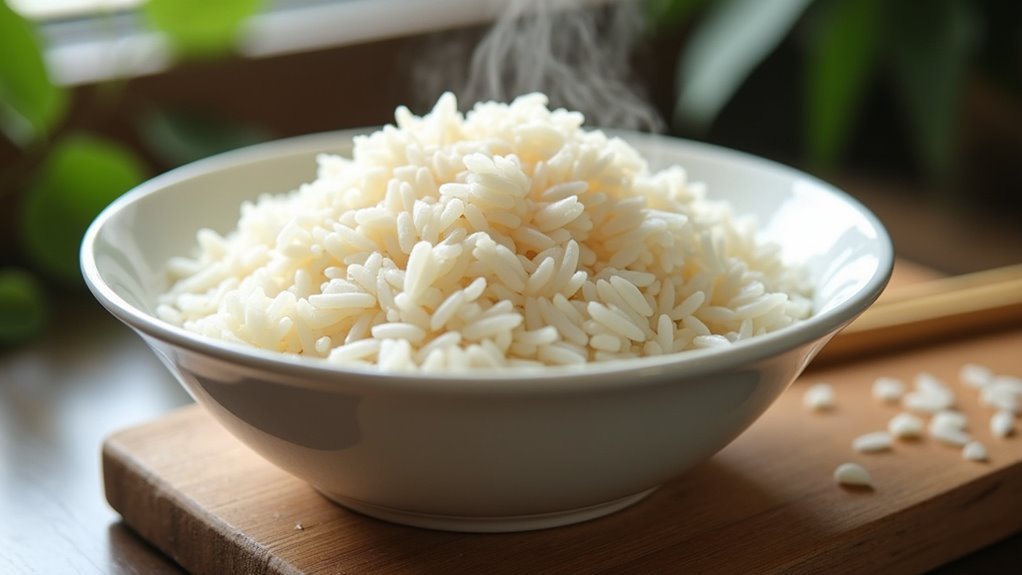
Two essential steps separate us from rice perfection – and honestly, this is where most people mess up because they’re too enthusiastic to dig in.
After your rice cooker finishes, we need patience for proper resting. Let it sit 5-10 minutes without opening the lid – this extra steam time transforms the texture completely.
Then comes fluffing with a rice paddle, gently separating grains without mashing them. This releases excess moisture, preventing sogginess. It’s also important to remember that cooked rice can be kept in a rice cooker for up to 4 hours safely, beyond which it may spoil.
Finally, use that keep warm function briefly after fluffing to maintain ideal serving temperature. Trust me, these steps make all the difference.
Frequently Asked Questions
How to Cook Rice Step by Step in a Rice Cooker?
We’ll rinse two cups rice, add equal water, select appropriate setting, avoid opening during cooking, then let rest five minutes. These rice cooking techniques guarantee perfect texture regardless of rice varieties comparison you choose.
What Is the Perfect Ratio of Water to Rice in a Rice Cooker?
We’ll use 1:1.25 water-to-rice ratio for perfect texture. Surprisingly, 80% of home cooks use incorrect water measurement. Different rice types require slight adjustments, and soaking rice beforehand enhances flavor while preventing common mistakes.
What Is the 5 5 5 Rule for Rice?
The 5-5-5 rule uses equal parts water and rice with 5-minute pressure cooking time. We’ll find this method optimizes water absorption and cooking time, creating perfect texture variation across different rice types for enhanced flavor.
How to Make Rice in Zojirushi Rice Cooker?
We’ll measure rice precisely, rinse thoroughly, then add water. Zojirushi features multiple cooking settings for different rice types. Select your setting, press start, and let timer functions handle the rest while we wait.


