I'm excited to share my foolproof method for cooking perfect brown rice every time. As a home cook who's struggled with mushy, undercooked, and burnt rice, I've discovered five essential steps that transformed my rice-cooking game. Whether you're new to cooking brown rice or looking to elevate your technique, these simple yet vital steps will help you achieve fluffy, tender grains that'll make any meal better. Let me walk you through the process.
Measuring and Rinsing Brown Rice
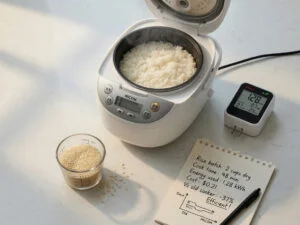
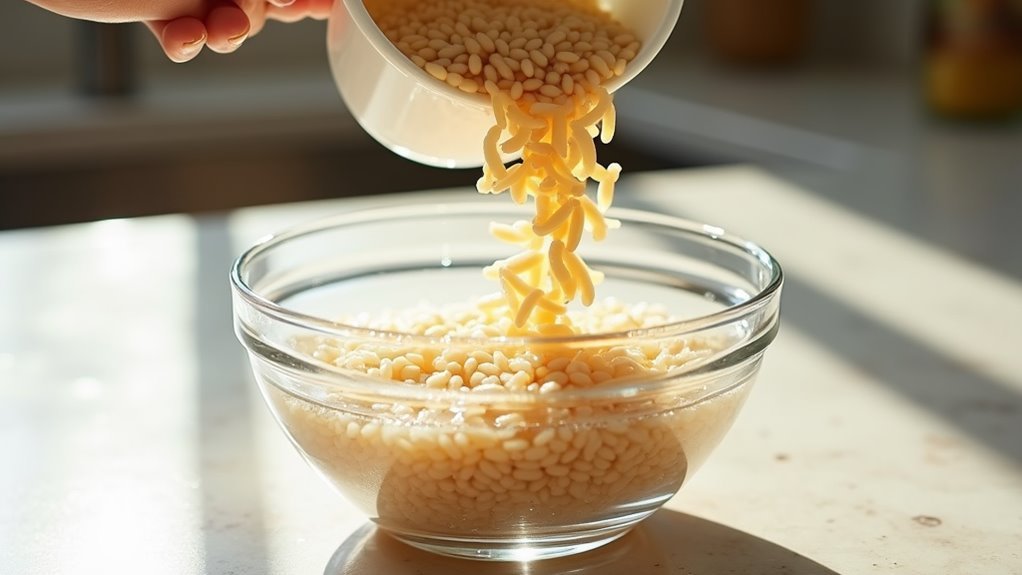
Success in cooking brown rice starts with proper measuring and rinsing techniques. I'll show you how to break free from mushy, sticky rice forever! Start by measuring your rice using the classic 2:1 water-to-rice ratio, or try my favorite thumb method – just add water until it's about an inch above the rice. When it comes to managing grain sizes, I've found that gentle rinsing in a fine mesh strainer works wonders.
For even better results, I love adjusting soaking duration based on my schedule. If I've got time, I'll soak the rice overnight – it's a game-changer for texture and digestibility. Don't stress if you're short on time though; a quick rinse will still improve your rice's fluffiness while washing away any unwanted debris. The germ and bran remain intact in brown rice, making it more nutritious than white rice.
Perfecting the Rice-to-Water Ratio
When it comes to cooking perfect brown rice, finding the right water-to-rice ratio is absolutely essential. I've found that adjusting liquid ratios based on varying rice varieties makes all the difference in achieving that ideal texture you're looking for. For stovetop cooking, I love using a 2.5:1 water-to-rice ratio, which gives me perfectly tender grains every time. Rinsing rice thoroughly before cooking helps remove excess starch and improves the final texture. Brown rice requires more water than white rice for even cooking. If you're using a rice cooker, I recommend starting with 1⅔ cups of water for every cup of rice. Don't be afraid to experiment though – some brown rice varieties might need a little more or less water. Here's a pro tip: if you're unsure, it's better to use more water and drain the excess than to end up with undercooked rice. You'll get the hang of it with practice Using the correct water levels is crucial for optimal results.
Setting Up Your Rice Cooker

Now that you've measured your rice and water, let's get your rice cooker ready for the perfect batch of brown rice. I'll show you how to set up your cooker for outstanding results every time. Before cleaning the rice cooker, I always unplug it and let it cool completely. Adding 1/4 teaspoon salt enhances the overall flavor of your brown rice. Soaking brown rice can also improve its texture and nutritional benefits.
Here are my top three tips for rice cooker success:
- Wash your rice thoroughly 3-4 times until the water runs clear
- Always wipe the bottom of the inner pot dry before placing it in the cooker
- Select the "BROWN RICE" setting for proper cooking time and temperature, which helps retain phytic acid content.
Once you've followed these steps, close the lid tightly and let your cooker work its magic. When storing the cooked rice, use your rice paddle to prevent scratching the pot's surface. You'll love how simple this process is
Timing and Temperature Control

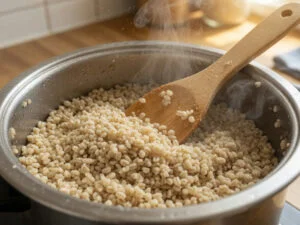
The perfect brown rice depends on mastering two critical elements: timing and temperature control. I'll guide you through the essential steps to achieve fluffy, delicious rice every time. By evenly monitoring temperature and checking doneness regularly, you'll never serve mushy or undercooked rice again. A thorough rinse before cooking helps remove surface dust and improves the final texture. It is also important to use the correct water ratio, as brown rice requires about 2.25 cups of water per 1 cup of dry rice.
| Stage | Time | Temperature | Action |
|---|---|---|---|
| Initial | 0-5 min | High | Bring to boil |
| Active Cook | 30-45 min | Low | Gentle simmer |
| Rest | 10 min | Off | Keep covered |
| Serve | Now | Warm | Fluff & enjoy |
I start with high heat to get things rolling, then drop to low for that perfect simmer. Remember, different types need different times – brown basmati takes just 12-14 minutes, while regular brown rice needs about 30. Trust your instincts and keep checking until it's just right.
Resting and Fluffing the Cooked Rice
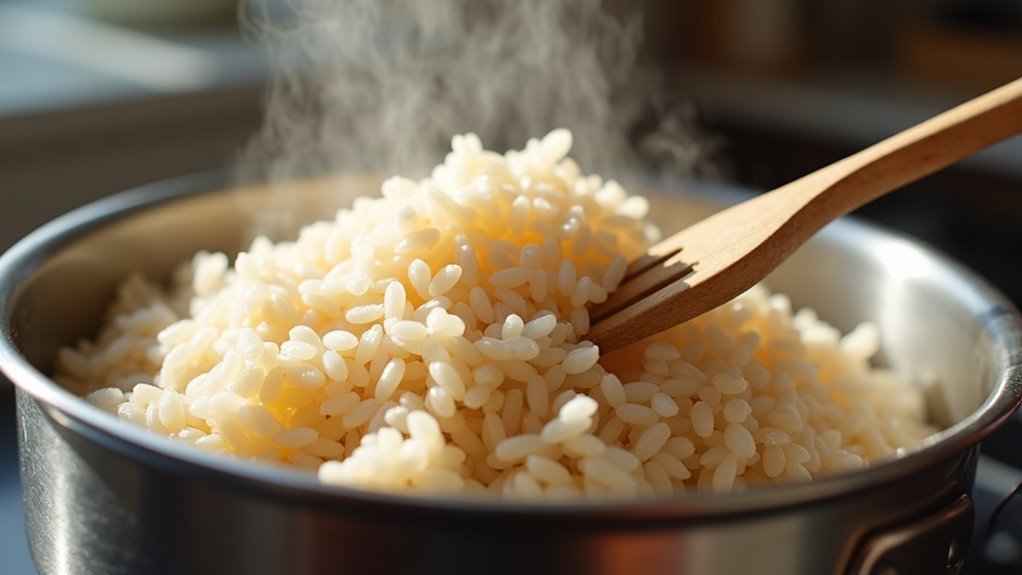
After your perfectly cooked brown rice comes off the stove, I'll show you why patience truly matters during the indispensable resting phase. Let that rice rest for 10 minutes with a tight-fitting lid, retaining moisture levels perfectly while avoiding overcooking. This step is crucial after following the proper water measurement guidelines to ensure the rice is cooked just right. I'll help you achieve that ideal fluffy texture you're craving. You can place the pot back on the turned off burner for additional warmth during resting.
Here's why resting makes such a difference:
- Steam continues circulating, creating that perfect grain separation
- Moisture distributes evenly throughout each grain
- The texture becomes light and fluffy instead of sticky or mushy
Once resting is complete, I'll guide you to fluff gently with a fork. Don't overdo it – just a few gentle strokes will separate those grains beautifully. Trust me, your brown rice will be absolutely perfect for any dish you're creating.
Frequently Asked Questions
Can Brown Rice Be Frozen After Cooking?
I've found freezing cooked brown rice works great – just cool it completely, portion into freezer bags, and store up to 3 months. When needed, thaw frozen brown rice in your microwave.
How Long Does Cooked Brown Rice Stay Fresh in the Refrigerator?
I recommend storing your cooked brown rice in the fridge for 3-4 days max. With proper storage techniques and ideal refrigeration conditions, you'll keep it fresh and safe to eat.
Is Brown Rice Healthier Than White Rice?
I recommend brown rice since it's clearly healthier than white rice. It's packed with higher nutrient content, has a lower glycemic index, and keeps you feeling full longer with its natural fiber.
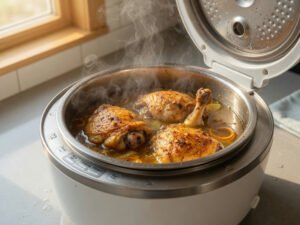
Can I Add Seasonings or Broth Instead of Water When Cooking?
I'd definitely recommend it! You can substitute broth for water to infuse more flavor, and feel free to include additional seasonings like herbs, garlic, or spices during cooking for your own unique taste.
What's the Best Brand of Brown Rice to Buy?
Hungry for wholesome goodness? I recommend Nishiki Premium Brown Rice as my top pick, but don't feel limited – organic brands like Seeds of Change offer quality, while store brands keep your wallet happy.
Conclusion
I'm thrilled to share these foolproof steps for perfect brown rice with you! Like a skilled conductor leading an orchestra, you'll now masterfully balance the water ratio, timing, and temperature to create fluffy, nutritious brown rice every time. Whether you're using a rice cooker or stovetop method, these five essential steps will transform your rice from ordinary to extraordinary. Give them a try – your taste buds will thank you!