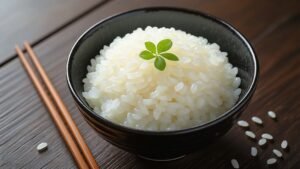
While quinoa has gained popularity as a nutritious superfood, many of us still struggle to cook it perfectly in our cookers. We’ve found that the key to achieving fluffy, flavorful quinoa lies in understanding the nuances of different varieties and adjusting our cooker settings accordingly.
By mastering the best water-to-quinoa ratio, cooking times, and temperature settings for white, brown, and black quinoa, we can elevate this ancient grain from a mere side dish to a culinary masterpiece. But there’s more to unleashing quinoa’s full potential than just these basics – let’s explore the techniques that’ll transform your quinoa game.
Table of Contents
ToggleOptimal Water-to-Quinoa Ratio
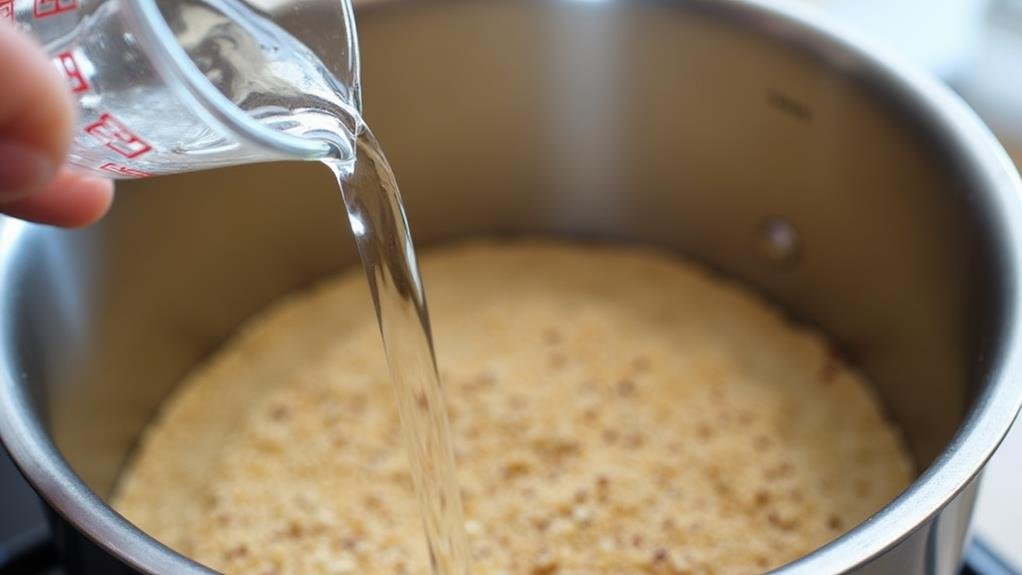
For perfect quinoa every time, mastering the water-to-quinoa ratio is crucial. We’ve discovered that the ideal water-to-quinoa ratio when cooking quinoa in a rice cooker is 2 cups of water for every 1 cup of quinoa. This golden ratio guarantees our quinoa cooks to the perfect consistency, avoiding the pitfalls of mushiness or dryness.
Quinoa, being a highly nutritious pseudo-cereal, requires just the right amount of liquid to fully absorb its flavors and nutrients, making this ratio particularly effective for achieving the best results nutritional benefits.
Let’s look at why this ratio works so effectively. By maintaining this 2:1 proportion, we’re providing our quinoa with just the right amount of liquid to absorb, resulting in fluffy, separate grains that we all appreciate. However, we recognize that personal preferences vary, and that’s why adjusting water amount can be a game-changer for achieving your desired texture.
For those of us looking to add extra flavor, using broth instead of water is a fantastic alternative. We can still follow the 2:1 ratio, but we’ll infuse our quinoa with delicious taste.
Remember, fellow quinoa enthusiasts, experimenting with different ratios might be necessary to find what works best for our specific recipes.
Cooking Time and Temperature Settings
People who enjoy quinoa are aware that the cooking duration and heat levels are crucial factors in achieving flawlessly cooked grains. We’ve discovered that different types of quinoa require specific adjustments to guarantee excellent outcomes in our rice cookers.
For white quinoa, we’ve found that setting our rice cooker to cook for about 15 minutes at a moderate heat level works wonders. However, when we’re preparing brown quinoa, we need to extend the cooking duration to around 18-19 minutes and slightly increase the heat. Black quinoa, on the other hand, demands a bit more attention. We’ve learned that cooking it for 20-21 minutes on a medium-high heat level yields the best texture.
It’s important to grasp the importance of experimenting with our rice cookers to find the perfect combination of cooking duration and heat levels. By fine-tuning these parameters, we can consistently achieve fluffy, perfectly cooked quinoa every time. Remember, these guidelines are just starting points – we encourage you to adjust based on your specific rice cooker and personal preferences.
Pre-Soaking and Rinsing Techniques
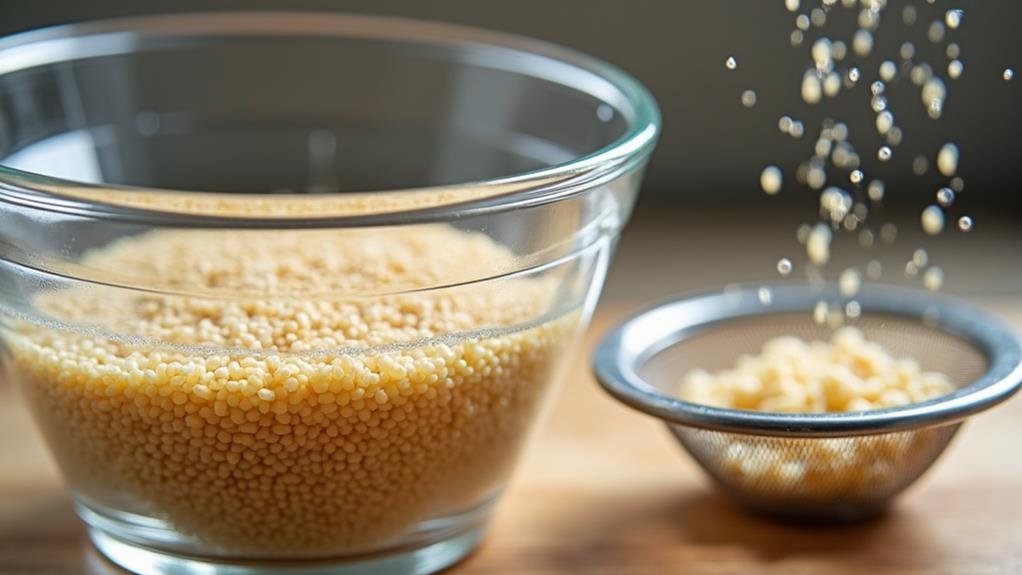
While refining cooking times and temperatures is vital, we can’t overlook the significance of proper preparation before our quinoa even hits the cooker. So, let’s take some time to consider the essential pre-soaking and rinsing techniques that’ll enhance our quinoa game!
We’ve all been there – bitter quinoa that ruins an otherwise perfect dish. But fear not, fellow quinoa enthusiasts! By pre-soaking our quinoa for 3 hours, we’re not only reducing bitterness but also improving the texture of our cooked quinoa. This simple step breaks down phytic acid, making our quinoa easier to digest and allowing us to absorb more nutrients. Additionally, just like with rice, rinsing is essential for achieving the best flavor in our grains; the best rice for making flavorful yellow rice can provide insights on this topic.
But wait, there’s more! Rinsing is vital to remove saponin, quinoa’s natural coating that contributes to its bitter taste. Let’s grab a fine-mesh strainer and rinse our quinoa under cold water, ensuring we remove all saponin and any debris. This quick rinse makes a world of difference in the flavor of our final dish.
Flavoring Options During Cooking
Flavor-boosting opportunities abound when it comes to cooking quinoa! Let’s explore some delicious ways to elevate our quinoa game and impress our fellow food enthusiasts. First, we can swap out plain water for vegetable or chicken broth when we cook quinoa. This simple switch instantly infuses our grains with a rich, savory base, enhancing the overall flavor profile. For those of us who love to experiment, let’s try coconut milk or coconut water as our cooking liquid. It’ll give our quinoa a tropical twist that’s perfect for summer dishes. We can also jazz things up with seasoning options like garlic powder, onion powder, or dried herbs. These aromatics will permeate the quinoa as it cooks, creating layers of flavor, similar to how rice cookers use sensors and signals to guarantee even cooking.
Craving a zesty kick? We’ll squeeze fresh lemon or lime juice into the cooking liquid for a bright, citrusy note. And for umami lovers, adding a tablespoon of soy sauce or tamari to the pot will take our quinoa to new heights. With these flavoring options, we’ll never settle for bland quinoa again. Let’s get cooking and share our delicious creations with our foodie friends!
Post-Cooking Resting and Fluffing
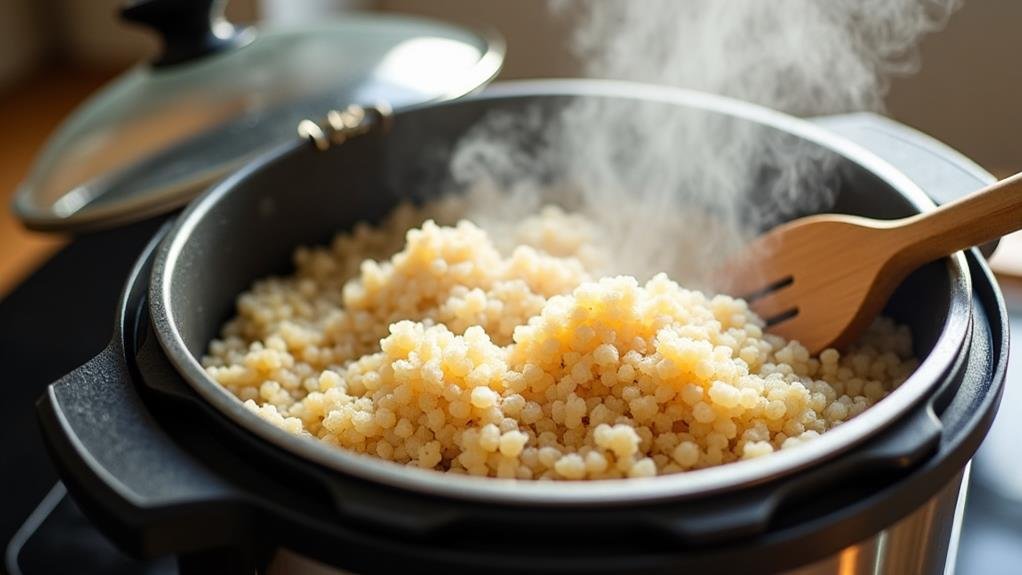
After the quinoa has finished cooking, it’s time for a vital step that many home cooks overlook: the post-cooking rest and fluff. We’ve all been there – excited to dig into our perfectly cooked quinoa salad, but patience is key to achieving that ideal texture we crave.
Let’s embrace the art of resting our quinoa. Once it’s cooked in a rice cooker, we’ll want to let it sit undisturbed for 5-10 minutes. This important resting period allows the quinoa to absorb any remaining moisture, ensuring we get that light and fluffy result we’re after. It’s during this time that the magic happens, transforming our quinoa into the complete protein powerhouse we love.
After resting, it’s time to fluff! We’ll grab a fork and gently separate those grains, being careful not to overdo it. This step prevents clumping and gives our quinoa that perfect, individual grain texture. Remember, we want to avoid fluffing immediately after cooking, as this can lead to mushy quinoa – and nobody wants that! By mastering these post-cooking techniques, we’ll elevate our quinoa game and impress our fellow food enthusiasts.
Conclusion
We’ve explored the intricacies of cooking quinoa, yet ironically, the perfect settings might still elude us. While we’ve outlined precise timings and temperatures for each variety, let’s not forget that our taste buds are the ultimate judges. We’re armed with technical knowledge, but cooking’s an art, not a science. So let’s experiment fearlessly, tweaking ratios and techniques. Who knows? Our next culinary masterpiece might come from breaking all the rules we’ve just learned!


