Just as Prometheus bestowed fire upon humanity, we’re here to reveal the secrets of the perfect crispy pizza crust. We’ve cracked the code on achieving that irresistible crunch, and we’re excited to share our findings with you.
From the ideal temperature settings to the art of rice selection, we’ll guide you through every step of crafting a bottom crust that’s nothing short of divine. But that’s not all – we’ve got a treasure trove of techniques that’ll revolutionize your pizza-making game.
Are you ready to elevate your culinary skills and become the pizza master you’ve always dreamed of being?
Optimal Temperature for Crispy Crust
Pizza enthusiasts, get ready for crust perfection! We’re about to reveal the secret to achieving that irresistible crunchy base we all desire. The key? It’s all about the temperature!
We’ve found that preheating our brick oven to a scorching 700°F is the ideal point for that flawlessly cooked crust. This intense heat is our secret weapon in crafting a crunchy masterpiece. We’ll need to sustain this blazing temperature throughout the cooking process to guarantee our pizza base comes out just right.
But why limit ourselves? We can experiment within this perfect range to discover our preferred crunchiness level.
Remember, higher temperatures are our allies here. They assist us in cooking quickly, providing us with that desired crunchy base while maintaining our toppings fresh and colorful. To prevent excess moisture, we’ll ensure our ingredients are at room temperature before they enter the oven. With these pointers, we’re on the right track to pizza excellence. Let’s embrace the heat and craft crusts that’ll leave every pizza aficionado in awe!
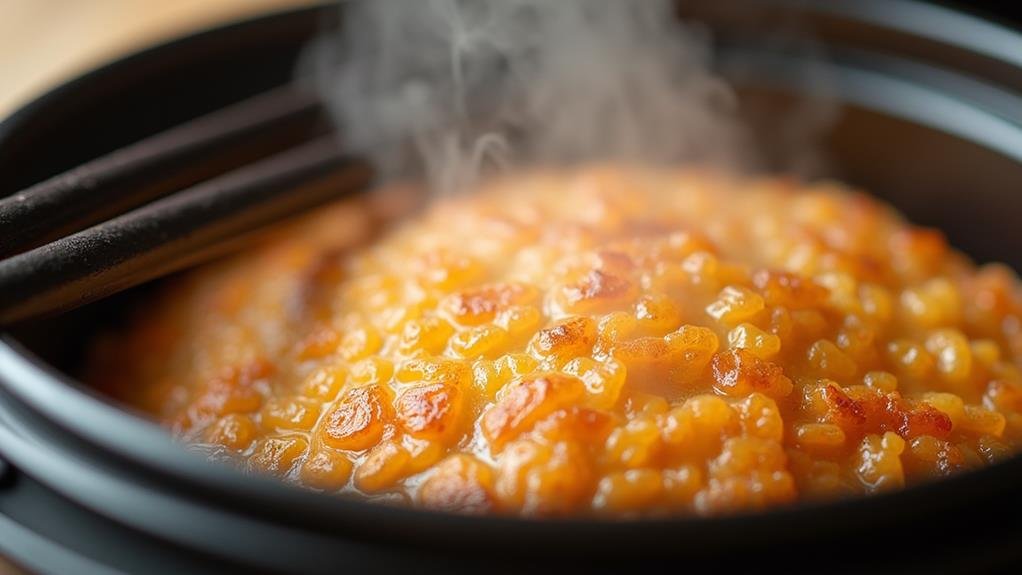
Rice Selection for Bottom Crunch
While temperature plays a key role in achieving the perfect crust, let’s explore another exciting dimension of pizza perfection – the rice-based bottom crust! Arborio rice, known for its oval grains and creamy texture, is an excellent choice for creating a sturdy, crunchy base. We’re about to reveal the secrets of selecting the ideal rice for that irresistible crunch we all crave. Cooking tips for perfect Arborio rice will enhance your culinary experience and guarantee success.

- PREMIUM RISOTTO RICE: Arborio rice is famous for its starring role in the delicious Italian comfort-food dish risotto. Because of its high starch content, this dried medium-grain rice is the ideal choice for achieving that al dente bite and signature rich and creamy texture.
- VERSATILE DRIED RICE: Create more than simple sides for dinner like delicious parmesan-cheese risotto. Use chicken or beef broth with your Arborio risotto rice for a subtle flavor change. You can also use this rice to make other Italian foods like arancini rice balls or rice pudding. Because it’s similar to Spanish bomba rice, Arborio rice works well as paella rice too!
- NON-GMO & GLUTEN-FREE: Our risotto rice has no other ingredients, so it’s low in fat, cholesterol, and sodium! It’s also Non-GMO Project Verified, Certified Gluten-Free, Star-K Kosher, and free of preservatives and additives, so even your loved ones with dietary restrictions can enjoy its delicious flavor.
- SUSTAINABLE PACKAGING: We package all of our premium products—Texmati rice, Jasmati rice, Arborio rice, couscous, quinoa, and more—in our iconic BPA-free, fully recyclable jar. Check the back of the Arborio rice jar for cooking directions, and enjoy a tasty risotto recipe.
So, what are our top rice choices for a crispy bottom:
- Arborio: This Italian short-grain rice is perfect for creating a sturdy, crunchy base.
- Carnaroli: Known as the “king of risotto,” it’s also excellent for achieving that coveted crispy texture.
- High-starch varieties: These types of rice naturally lend themselves to a crunchier finish.
Remember to pre-cook our chosen rice slightly before spreading it on our pizza stone or pan, and don’t forget to let it rest for a few minutes, then drizzle with extra-virgin olive oil for added flavor and crispiness. Remember, fellow pizza enthusiasts, the key to success lies in experimenting with different rice types and cooking times. Together, we’ll perfect the art of the rice-based crust, creating pizzas that’ll have everyone talking about our culinary prowess!
Water-to-Rice Ratio Adjustments
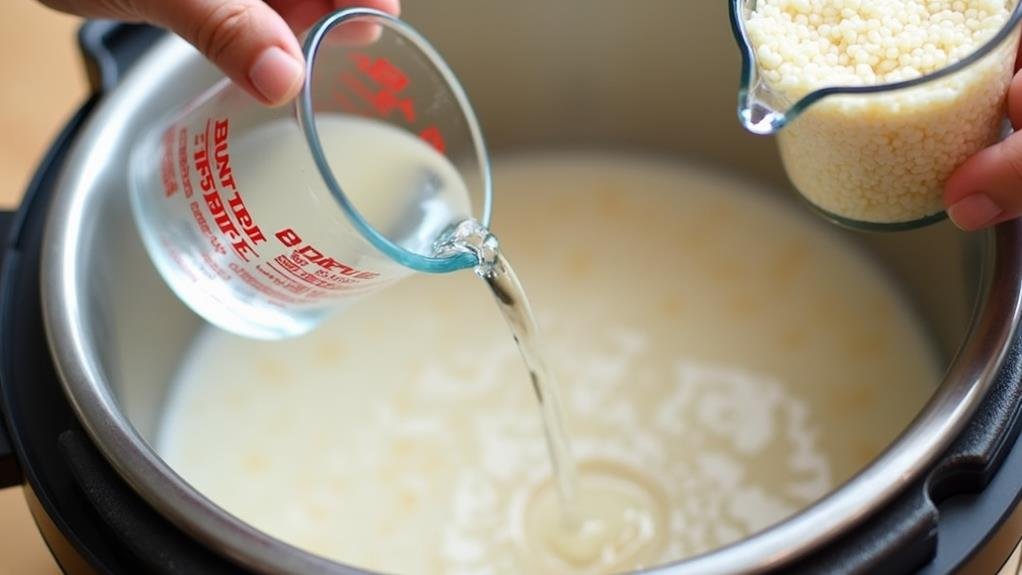
Let’s explore the essential role of water-to-rice ratios in achieving the ideal cooker crust! We’ll uncover how adjusting moisture levels can significantly impact your rice’s texture and bottom crunch. By considering your specific grain type and desired outcome, we’ll help you fine-tune your ratios for best results every time.
Optimal Moisture Balance
Three essential factors determine the ideal cooker crust, and best moisture balance tops the list. We’ve discovered that achieving the perfect water-to-rice ratio is important for creating that irresistible crispy bottom we all crave. Let’s delve into the secrets of best moisture balance!
To nail that perfect crust, we need to focus on:
- Experimenting with ratios between 1.25 to 1.5 cups of water per cup of rice
- Fine-tuning the consistency for a crispy bottom without dryness or sogginess
- Adapting the ratio to complement your toppings and enhance the overall pizza experience
We can’t stress enough how important proper moisture content is for our crust. Too much water, and we’ll end up with a soft, undercooked bottom – a pizza lover’s nightmare! On the flip side, too little water will leave us with a dry, hard crust that lacks that delightful texture we’re after. By finding the sweet spot in our water-to-rice ratio, we’ll create a crust that holds up beautifully under the intense heat of a brick oven, giving us that authentic Neapolitan-style pizza we’ve been dreaming of.
Grain Type Considerations
Having nailed down the perfect moisture balance, we must now consider how different grain types affect our water-to-rice ratio. Fellow rice enthusiasts, this is where our culinary journey gets truly exciting! We’re delving into the world of grain varieties and their unique characteristics.
Let’s start with the basics: long-grain and short-grain rice. For that fluffy, individual-grain texture we all love, long-grain rice typically needs a 1:1.5 ratio of water to rice. But if we’re after that delightful sticky consistency, short-grain rice is our go-to, often requiring a 1:1 ratio.
Here’s where we get to flex our culinary muscles: experimenting with different grains and ratios. It’s like a treasure hunt, discovering the perfect combination for our desired texture and consistency. Remember, the cooking method plays a pivotal role too. Some grains are thirstier than others during the cooking process.
Pre-Soaking Rice Techniques
Let’s explore the magic of pre-soaking rice for the ideal cooker crust! We’ll uncover the best soaking time to achieve that irresistible crispiness and discuss how to adjust your water-to-rice ratio for stellar results. By mastering these techniques, we’ll elevate our rice dishes to new heights of texture and flavor!
Water-to-Rice Ratio Tips
Pre-immersing rice is a game-changing technique that’ll revolutionize your cooking! We’ve discovered that this simple step can transform your rice dishes, making them fluffier and more delicious than ever before. When we pre-soak our rice, we’re not just saving time; we’re revealing a world of texture and flavor possibilities.
Let’s plunge into the water-to-rice ratio tips that’ll make your soaked rice perfect every time:
- Stick to a 1:1 ratio of water to rice when cooking pre-immersed grains.
- Reduce your cooking time by 10-15 minutes to prevent overcooking.
- Experiment with different soaking times to find your ideal texture.
We love how pre-soaking helps us achieve that perfect, non-sticky consistency we all crave. It’s like we’re part of an exclusive club of rice connoisseurs! By adjusting our water-to-rice ratio and cooking time, we’re taking control of our rice’s destiny. Remember, fellow rice enthusiasts, the key is to stay flexible and attentive. With these tips, we’ll be creating rice dishes that’ll have everyone asking for our secrets!
Optimal Soaking Time
The art of pre-soaking rice is a delicate dance of time and patience. We’ve discovered that this simple step can transform your rice from ordinary to extraordinary! Let’s plunge into the world of best soaking times and reveal the secrets to perfectly textured, flavorful rice.
For most rice varieties, we suggest soaking for at least 30 minutes. This softens the grains and reduces cooking time, giving us a head start on our journey to rice perfection. But why stop there? Extending the soak to 2-4 hours can elevate your rice game even further, enhancing both texture and flavor.
Here’s a quick guide to help you master the soaking process:
| Rice Type | Minimum Soak | Best Soak |
|---|---|---|
| White | 30 minutes | 2 hours |
| Brown | 1 hour | 4 hours |
| Wild | 2 hours | 6-8 hours |
Cooker Bottom Heat Distribution
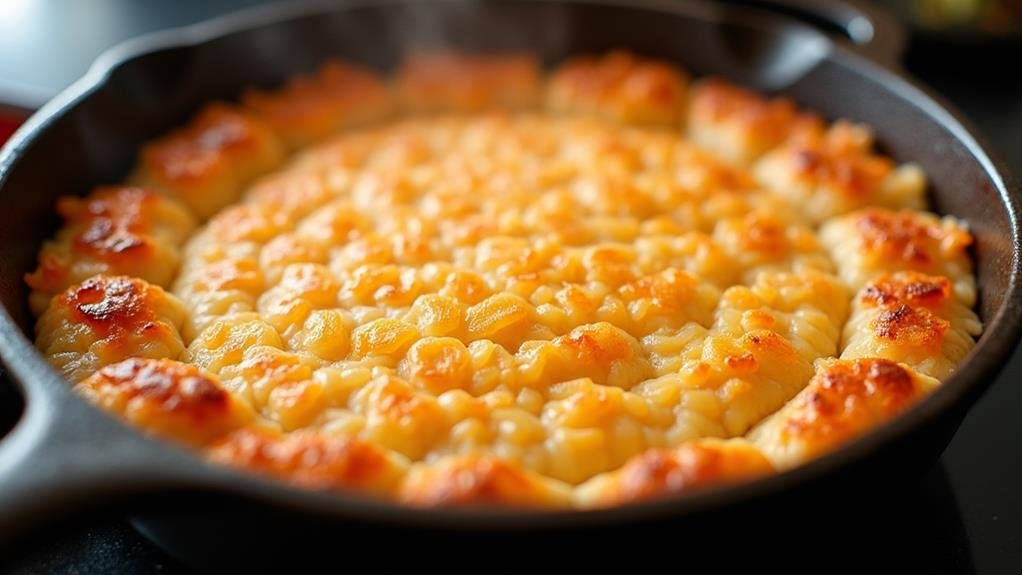
When it comes to achieving the perfect pizza crust, we can’t emphasize enough the significance of cooker bottom heat spread. It’s the secret to that irresistible crispy texture we all desire! Proper heat spread guarantees our crust cooks uniformly, creating a consistent texture throughout. Using a griddle, such as a Blackstone, can also enhance your cooking experience with its spacious cooking surface that allows for preparing multiple dishes simultaneously. Let’s immerse ourselves in the world of pizza perfection together!
Brick pizza ovens are the gold standard for even heat spread. They’re like the grandmasters of crispy crusts, spreading warmth evenly across the bottom of our pizzas. But don’t fret if you don’t have a brick oven at home – we’ve got options!
Here are three essential factors for achieving ideal heat spread:
- Material: Choose cookers made of materials known for excellent heat conductivity.
- Design: Look for cookers specifically engineered to spread heat evenly.
- Heat source: Wood-fired ovens offer superior heat spread compared to gas-fired options.
Timing Your Crust Formation
Mastering the art of timing your crust formation is crucial for pizza perfection! We’ve all been there, eagerly anticipating our pizza cook, hoping for that crispy, golden-brown crust we desire. To achieve that ideal texture, consider experimenting with different cooking methods, such as a rice cooker for alternative recipes like rice cooker mac and cheese. Let’s delve into the secrets of nailing that perfect crust every time!
In a hot brick oven, we’re looking at a sweet spot of 90 seconds to 2 minutes for ideal crust formation. But don’t worry if you’re not working with a fancy oven – we can still achieve greatness! Keep a close eye on that crust, adjusting heat intensity or oven position to control the speed. Remember, we’re aiming for that irresistible golden-brown color and crisp texture.
Here’s a pro tip: keep that pizza rotating! We want even cooking and no burnt spots on the bottom. It’s all about practice, pizza enthusiasts. Experiment with timing to find what works best for your preferred pizza style. Together, we’ll become crust formation masters, creating pizzas that’ll make our taste buds sing and our friends beg for our secrets!
Post-Cooking Resting Period
Ah, the post-cooking resting period – an essential step that’s often overlooked! We’ve all been there, eagerly slicing into our freshly baked pizza, only to find a soggy bottom and toppings sliding off. But fear not, fellow pizza enthusiasts! We’re about to reveal the secret to achieving that perfect, crispy crust we all crave.
After your pizza emerges from the oven, resist the temptation to dive right in. Instead, let it rest for 1-2 minutes. This brief pause works wonders:
- It allows the crust to firm up, maintaining its delightful crispiness
- The toppings set slightly, making slicing and serving a breeze
- The overall flavor and texture of the pizza are enhanced
During this resting period, the pizza’s heat redistributes, ensuring every bite is as delicious as the last. We’re not just making pizza; we’re crafting an experience! By embracing this simple technique, we’re joining the ranks of pizza perfectionists who understand that patience truly pays off. So, let’s unite in our quest for the ultimate crispy crust and savor every moment of our pizza-making journey!
Serving and Preserving Crispiness
After achieving the perfect crispy crust, it’s time to focus on serving and preserving that delightful crunchiness. We’ve worked hard to create a masterpiece, and now we’ll secure our pizza stays crispy from oven to plate.
Let’s start by using a pizza peel to transfer our piping hot creation from the oven to a cutting board. This swift move helps maintain the crust’s integrity. Remember, we’re aiming for immediate service to keep that crispy texture we all desire. As tempting as it might be, we’ll avoid stacking our pizzas. Doing so traps steam and leads to a soggy disaster – definitely not what we’re aiming for!
If we find ourselves with leftovers (though that’s rare in our pizza-loving circle), we’ll store them in an airtight container. When it’s time to reheat, we’ll skip the microwave and opt for the oven instead. For an extra crispy bottom, we’ll use a preheated pizza stone or cast iron skillet. This method revives our pizza to its former glory, securing we can enjoy that perfect crunch even the next day.
Conclusion
We’ve explored the secrets to achieving that perfect crispy bottom crust on our pizzas! Did you know that increasing your oven temperature by just 50°F can reduce cooking time by up to 30%? It’s amazing how small adjustments can make such a big difference! By mastering temperature control, rice selection, and cooking techniques, we’re well on our way to creating pizza perfection. Let’s keep experimenting and enjoying the delicious results of our crispy-crust endeavors!
Last update on 2026-06-30 / Affiliate links / Images from Amazon Product Advertising API