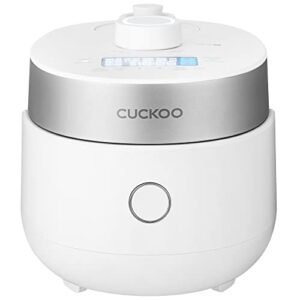
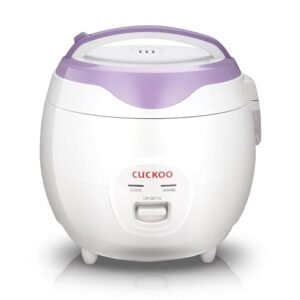
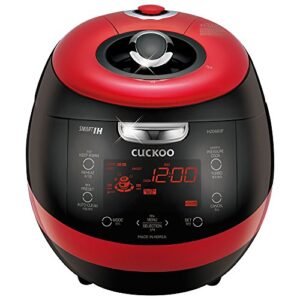
Let’s face it, we’ve all dreamed of achieving the perfect bowl of rice, with that irresistibly crispy bottom layer that’s a culinary treasure in many cultures.
Now, with your rice cooker’s scorched rice function, that dream can become a delicious reality!
We’ll guide you through the process of mastering this feature, from selecting the ideal rice to fine-tuning your water levels and cook times. But that’s just the beginning – there’s so much more to explore when it comes to creating the ultimate scorched rice experience.
Are you ready to discover a world of texture and flavor that’ll revolutionize your rice game?
Table of Contents
ToggleUnderstanding Scorched Rice Function
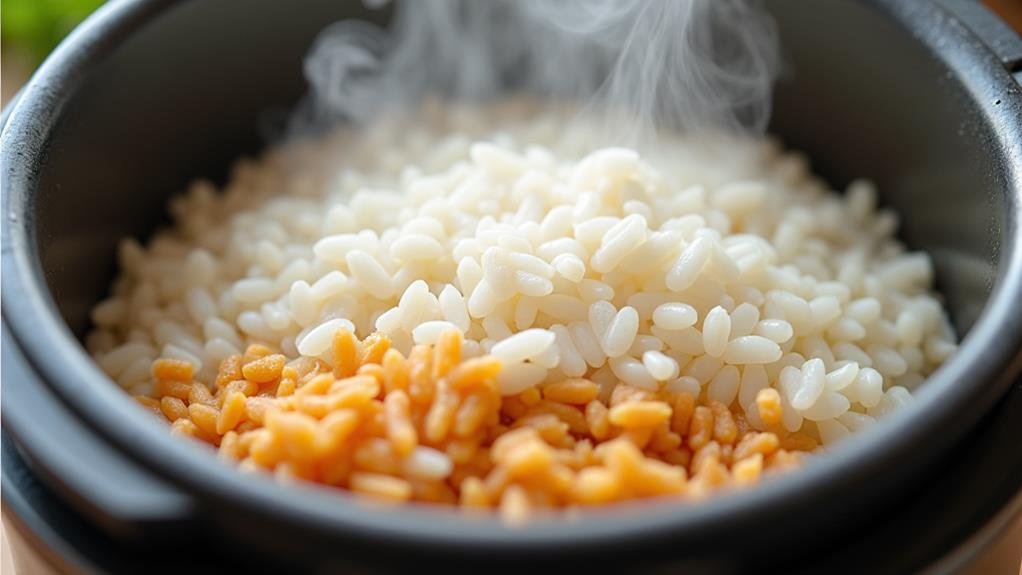
The scorched rice function in your rice cooker isn’t just a quirky feature—it’s a gateway to a whole new world of culinary delight! By utilizing this function, being attentive to food safety is crucial, as leaving cooked rice in the cooker for too long can result in bacterial growth and health risks, such as safety concerns and risks of bacterial growth. Let’s explore this exciting aspect of our beloved kitchen appliance together.
Many of us might have initially thought scorched rice was a cooking mishap, but it’s actually a cherished part of Korean cuisine known as nurungji. By using the scorched rice function, we’re tapping into a traditional cooking technique that produces a golden-brown crust at the bottom of our rice pot. This crispy layer introduces a distinctive texture and flavor to our meals, enhancing our rice cooking experience.
To achieve this delectable nurungji, we simply need to allow our rice to cook slightly longer than usual. The outcome? A crispy, crunchy layer that we can savor as a snack or incorporate into various dishes. We can even scrape it out and use it in recipes like nurungji bokkeum or sungnyung. By embracing this function, we’re not only maximizing our rice cooker’s potential but also connecting with a rich culinary tradition. So let’s celebrate every part of our rice pot and discover the joys of scorched rice together!
Preparing Your Rice Cooker
Now that we’ve explored the wonders of the scorched rice function, let’s get our rice cookers ready for action! First, we’ll want to make sure our rice cooker has this fantastic feature. Check your model’s specifications or user manual to confirm it’s equipped with a scorched rice setting. To achieve that perfect crispy bottom, consider using short-grain Japanese rice, which absorbs water well and creates a delightful texture. This adjustment helps prevent sticking while ensuring even browning, as seen in how to cook hibachi rice.
Once we’ve confirmed our rice cooker’s capabilities, it’s time to adjust our cooking method. We’ll need to tweak the water-to-rice ratio slightly to achieve that perfect crispy bottom. Remember, we’re aiming for that delectable nurungji that’ll make our taste buds dance!
Before we start cooking, let’s familiarize ourselves with the manufacturer’s instructions for the scorched rice function. Each rice cooker may have unique settings or timings, so it’s essential we follow these guidelines closely. By doing so, we’ll be well on our way to creating that irresistible crispy layer we all crave.
As we prepare our rice cooker, let’s embrace the excitement of crafting this traditional Korean delicacy right in our own kitchens. Together, we’re joining a community of food enthusiasts who appreciate the art of perfectly scorched rice!
Selecting the Right Rice
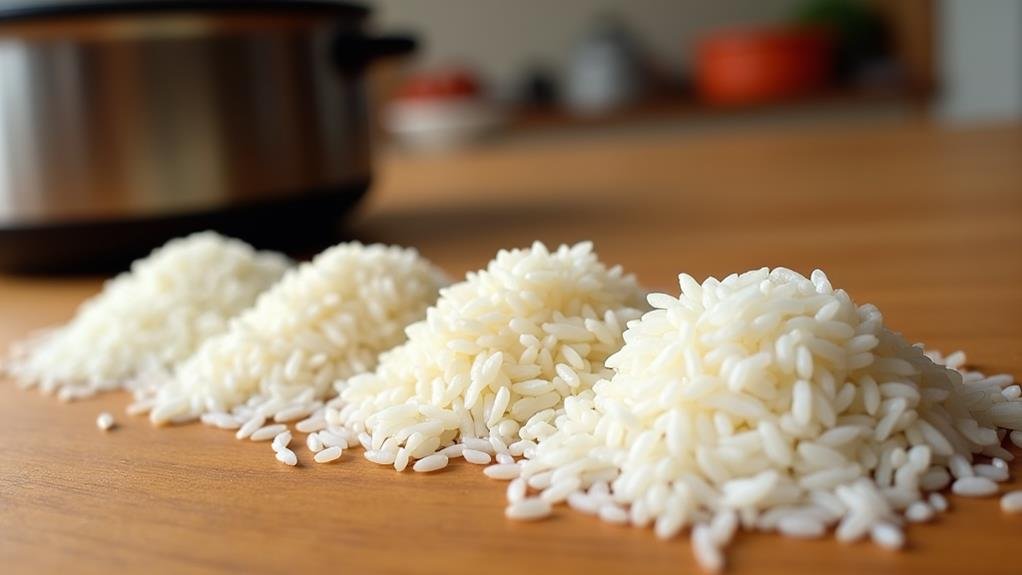
Three key factors come into play when selecting the perfect rice for your scorched rice adventure. First, let’s talk about grain size. We’re looking for short-grain rice, specifically Korean or Japanese varieties. These types are ideal for achieving that crispy, golden-brown layer we all crave. Soaking rice beforehand can enhance moisture absorption, ensuring it cooks evenly and results in that satisfying crunch. Trust us, you’ll want to steer clear of long-grain or jasmine rice – they just won’t give you that satisfying crunch we’re after.
Next, consider the flavor profile you’re aiming for. If you’re in the mood for a nuttier taste and a slightly chewy texture, brown rice is your go-to option. It’s a fantastic way to add depth to your scorched rice experience.
Adjusting Water Levels
Mastering water levels is the secret ingredient to achieving that perfect scorched rice texture we’re all aiming for. When using our rice cooker’s scorched rice function, we need to be mindful of how much water we’re adding. Let’s plunge into this essential step together!
To create that delightful crispy layer we love, we’ll want to reduce the water level slightly. This adjustment prevents our rice from becoming too mushy or soggy during cooking. It’s all about finding that sweet spot where the rice is perfectly cooked and the bottom layer develops that irresistible crunch.
Don’t hesitate to experiment with different water levels. We’re on a journey to discover our ideal scorched rice texture, and it might take a few tries to get it just right. The beauty of our rice cooker’s scorched rice function is that it allows us to customize the texture to our liking.
Setting Cook Time
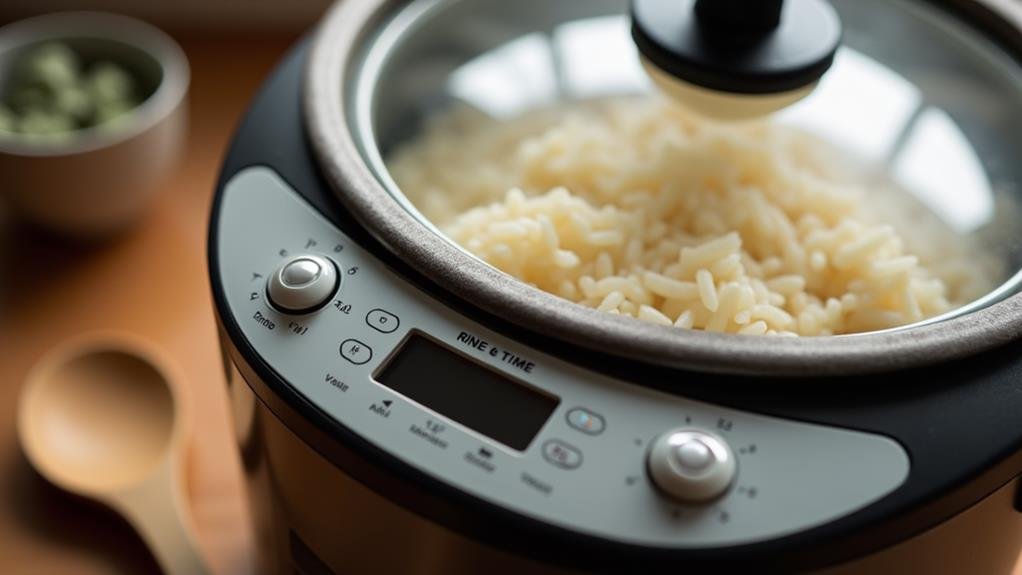
With our water levels perfected, let’s turn our attention to the cook time – a key factor in achieving that mouthwatering scorched rice texture. We’re about to set off on a delicious journey to create the perfect nurungji, and we’re all in this together!
To reveal the full potential of our rice cooker’s scorched rice function, we’ll need to adjust the cook time. It’s a bit of an art, but don’t worry – we’ve got this! We’ll set the timer slightly longer than usual, allowing the rice to develop that irresistible crispy layer at the bottom. Remember, we’re aiming for a balance between crunchiness and avoiding burning.
Here’s where the fun begins: experimenting with different cook times! Longer durations will result in darker, crunchier scorched rice, while shorter times yield a milder flavor and softer texture. It’s all about finding what we love best. As we master this technique, we’ll be able to create a variety of scorched rice dishes that’ll impress everyone at the table. So, let’s get cooking and discover our perfect scorched rice cook time together!
Monitoring the Scorching Process
Let’s keep a close eye on our rice cooker as the scorching process unfolds! We’ll listen for that telltale popping sound, which signals it’s time to check on our nurungji and adjust the heat if needed. By carefully monitoring the visual cues and tweaking the cooking time, we’ll achieve that perfect balance of crispiness and caramelization for our scorched rice delight.
Timing for Optimal Texture
Once you’ve activated your rice cooker’s charred rice function, the real magic begins! We’re about to venture on a culinary journey that will result in that perfect, crispy texture we all desire. Typically, the cooking time for charred rice ranges from 10 to 15 minutes, but don’t hesitate to experiment!
Remember, fellow rice enthusiasts, the key to achieving best texture lies in understanding your specific rice cooker model. We’ll need to keep a vigilant eye on the process, checking periodically to guarantee even browning and prevent any unwanted burning. This hands-on approach allows us to adjust the cooking time based on our personal preferences for light or dark charred rice.
As we monitor the charring process together, we’ll discover the perfect timing for our desired texture. It’s this attention to detail that sets us apart as true charred rice connoisseurs! By mastering the timing, we’re not just creating a snack; we’re crafting an essential ingredient for various Korean dishes. So let’s embrace the process, adjust as needed, and revel in the delicious results of our perfectly timed charred rice adventure!
Visual Cues to Watch
Now that we’ve perfected the timing, it’s time to hone our senses and become rice scorching detectives! Let’s delve into the visual cues that’ll help us create the perfect pot of rice with that mouthwatering crispy bottom.
First, we’ll observe our rice cooker switching from cooking to warming mode. This signals the beginning of our scorching adventure! As we gaze into the pot of rice, we’ll notice the color shifting from white to a beautiful golden brown. Our ears will perk up at the sound of crackling and popping, indicating that our cooked rice is crisping up nicely.
Here are the key sensory experiences we’ll enjoy during this process:
- The enticing aroma of nutty, toasted rice filling the kitchen
- The satisfying sizzle as the bottom layer caramelizes
- The visual metamorphosis from fluffy white to golden-brown goodness
- The excitement building as we watch the crust form at the bottom
Adjusting Heat Settings
The maestro of rice scorching knows that heat is the key to perfection. When we’re using our rice cooker’s scorched rice function, adjusting the heat settings is essential for achieving that irresistible crispy texture we all crave.
Let’s start by selecting the “scorched” or “crispy rice” setting on our cooker. We’re in this together, fellow rice enthusiasts! As the cooker heats up, we’ll need to keep a watchful eye on the process. Remember, we’re aiming for that perfect balance between golden-brown crispiness and a nutty flavor that’ll have everyone asking for seconds.
Some of our rice cookers come with adjustable heat levels for the scorched rice function. This is where we can really fine-tune our technique. We’ll experiment with different settings, finding that sweet spot that delivers the ideal crunch. Whether we prefer a light toast or a deep crisp, there’s a setting that’ll make our taste buds sing.
Removing and Serving Scorched Rice
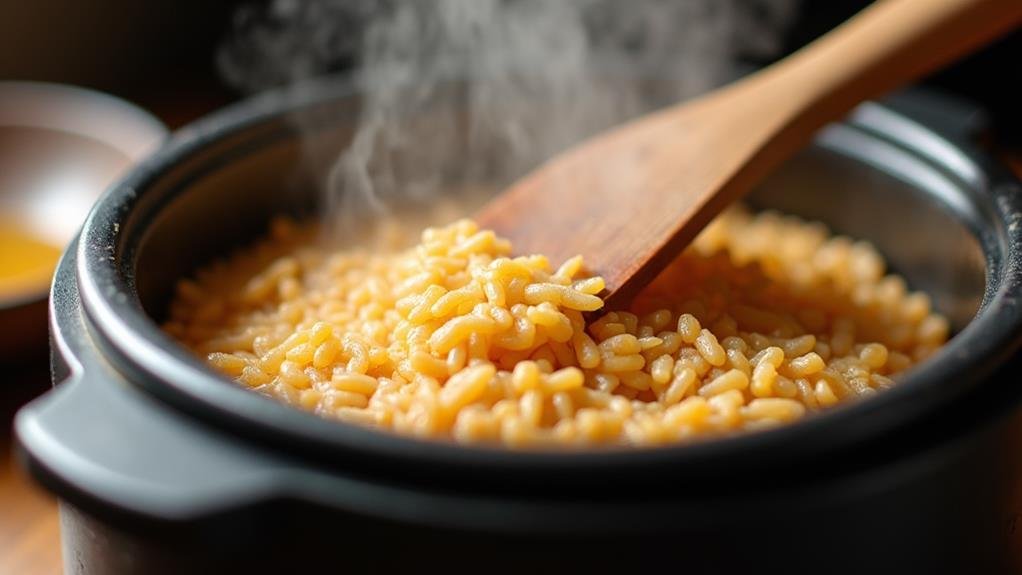
After your rice cooker has worked its magic to create that perfect layer of scorched rice, it’s time for the exciting part – removing and serving this golden, crispy treasure! Let’s delve into the best way to handle this delicious burnt rice layer.
First, we’ll need to unplug our rice cooker and let it cool down a bit. Safety first, fellow food enthusiasts! Once it’s cooled enough to handle, we’ll gently scrape off that thick layer of scorched rice using a wooden spatula. Be careful not to scratch the inner pot – we want to preserve our rice cooker for future culinary adventures!
Now that we’ve successfully removed our crispy rice, let’s explore the endless possibilities:
- Serve it as a crunchy snack for a unique texture experience
- Add it to bibimbap for an extra layer of flavor
- Incorporate it into kimchi fried rice for a delightful crunch
- Use it as a topping for soups or salads
Cleaning Your Rice Cooker
Let’s tackle the essential task of cleaning our rice cooker after enjoying that delicious scorched rice! We’ll explore effective methods for removing stuck-on rice, ensuring proper disinfection of the inner pot, and maintaining the exterior’s pristine condition. By following these cleaning tips, we’ll keep our rice cooker in top shape for countless more batches of perfectly scorched rice!
Removing Stuck-On Rice
Cleaning up stuck-on rice can be a challenging task, but we’re here to help! We’ve all been there – opening our rice cooker to find a layer of stubborn, baked-on rice clinging to the bottom. Don’t worry, fellow rice enthusiasts! We’ve got some tried-and-true methods to tackle this common kitchen conundrum.
First things first, let’s prioritize safety. Always unplug your rice cooker and allow it to cool completely before diving into the cleaning process. Once it’s safe to handle, grab a soft sponge or cloth and some warm, soapy water. Gently scrub the interior, focusing on those pesky areas with stuck-on rice. For tougher residue, we’ve got a secret weapon: baking soda paste! Mix baking soda with water, apply it to the stubborn spots, and let it work its magic for a few minutes before scrubbing.
Remember, we’re a community of rice cooker lovers, so let’s protect our beloved appliances:
- Avoid harsh chemicals or abrasive cleaners
- Never use metal utensils that can damage the non-stick coating
- Rinse thoroughly to remove all soap residue
- Allow your rice cooker to dry completely before storing or using
Disinfecting Inner Pot
Now that we’ve addressed the stuck-on rice, it’s time to explore the heart of our rice cooker: the inner pot. Let’s delve into the essential task of disinfecting this vital component to make sure our rice cooker remains in excellent condition.
We’re all in this together when it comes to maintaining our beloved kitchen appliances. To keep our rice cooker performing at its best, we need to give the inner pot some extra care. Start by washing it with warm, soapy water and rinsing thoroughly. For those stubborn stains or lingering odors, we’ve got a secret weapon: a mixture of water with vinegar or baking soda. This potent combination will leave our inner pot sparkling clean and fresh!
Maintaining Exterior Cleanliness
Beyond the inner workings of our rice cooker lies its exterior, which deserves just as much attention. Let’s explore the important task of maintaining our rice cooker’s outer cleanliness, making sure it stays in top shape for years to come!
After each use, we’ll want to wipe down the exterior with a damp cloth. This simple step prevents the buildup of dirt, grime, and food residue. For those stubborn stains or greasy spots, we can use a mild cleaning solution or diluted vinegar. Remember, we’re a community of rice cooker enthusiasts who take pride in our appliances!
Here are some key points to keep in mind:
- Use a soft cloth on the control panel to prevent water damage
- Avoid abrasive cleaners or harsh chemicals that could harm the finish
- Pay extra attention to buttons and crevices where dirt can accumulate
- Regular cleaning prolongs our rice cooker’s lifespan and ensures hygienic cooking
Experimenting With Flavors and Textures
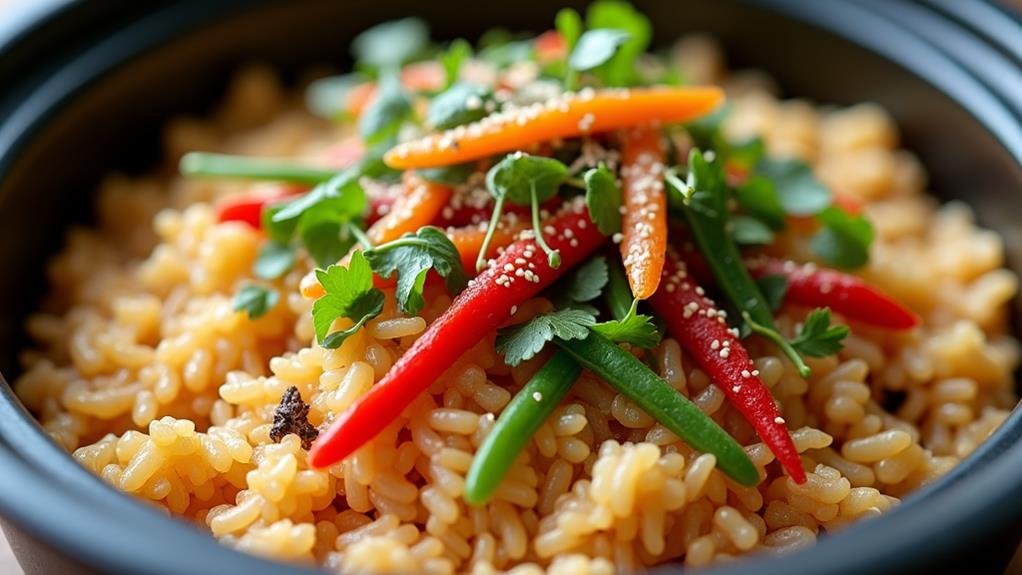
While mastering the basics of your rice cooker’s scorched rice function is essential, the real fun begins when you start experimenting with flavors and textures. Let’s explore some exciting ways to elevate our scorched rice game!
We can start by trying different types of rice, like short-grain or brown rice, to see how they affect the texture and flavor of our scorched rice. The possibilities are endless! We’ll also want to add a dash of salt or other seasonings before cooking to enhance the taste. For those of us feeling adventurous, let’s mix in sesame seeds, seaweed flakes, or dried shrimp to create a unique and flavorful dish.
But why stop there? We can use our scorched rice as a crunchy topping for salads, soups, or stir-fries, adding a delicious contrast of textures to our meals. And for an extra special treat, let’s pair it with a dipping sauce or sprinkle it over bibimbap. The crispy, savory goodness of our homemade scorched rice will take our dishes to new heights, making us feel like culinary wizards in our own kitchens.
Conclusion
We’ve discovered the secret to perfectly scorched rice, transforming our humble rice cookers into culinary alchemists! Like a phoenix rising from the ashes, our rice emerges with a golden, crispy bottom that’s sure to delight. We’re now equipped to experiment with flavors, textures, and techniques, creating personalized masterpieces. Let’s embrace this newfound skill, savoring every crunchy bite. The world of scorched rice is our oyster – let’s immerse ourselves and relish the delicious possibilities!


