Just the other day, I discovered that my grandmother's secret to perfect rice matched exactly what professional chefs recommend for rice cooker settings. I've spent years testing different ratios and times, and I'm excited to share what I've learned about mastering long grain rice in your cooker. Whether you're preparing fluffy basmati or hearty brown rice, these precise measurements and settings will transform your rice from merely good to restaurant quality.
Understanding Long Grain Rice Varieties
When you're ready to explore the world of long grain rice, you'll discover an incredibly versatile ingredient that can transform your cooking. I'm excited to share my knowledge about the distinctive varieties that'll give you the freedom to create amazing dishes. From classic long grain white rice with its fluffy, separate grains to nutty brown rice packed with nutritional properties, you've got options These varieties cook up perfectly into light and fluffy dishes with separate grains.
I particularly love basmati and jasmine rice for their aromatic qualities, while Texmati offers the best of both worlds with its hybrid characteristics. If you're looking for health benefits, try Wehani rice with its wonderful popcorn-like aroma or pecan rice with its unique, Southern-inspired flavor. Each variety brings its own personality to your cooking, letting you experiment with textures and tastes that'll make your meals truly special. Brown long-grain rice, for instance, has a GI score of 54, making it a great choice for those managing their blood glucose levels.
Measuring Rice and Water Ratios
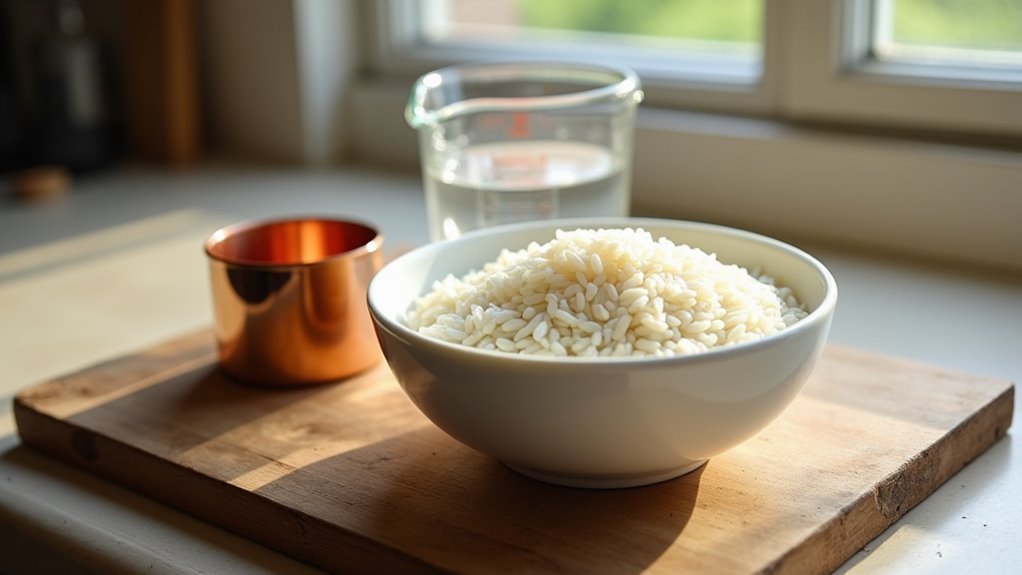
The perfect rice begins with precise measurements, and I'm thrilled to help you master this essential step Understanding perfect water ratios is pivotal because different rice types have unique moisture absorption characteristics. This is particularly important when adjusting for altitude and humidity, as these factors can significantly impact the cooking time and water absorption. I've simplified the process into an easy-to-follow guide that'll give you the freedom to cook with confidence.
| Rice Type | Water Ratio | Cooking Notes |
|---|---|---|
| Long Grain White | 1:1.75 | Most versatile |
| Basmati/Jasmine | 1:1.5 | Maintains fragrance |
| Brown Long Grain | 1:2.25 | Needs longer cooking |
| Parboiled | 1:2 | Already partially cooked |
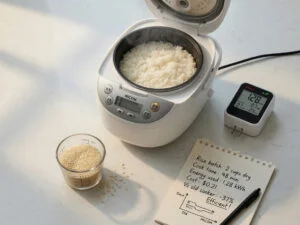
For foolproof results, I always use the plastic cup that came with my cooker – it's designed to match those handy water lines inside the pot. Remember, if you're using a traditional measuring cup, ¾ cup equals one rice cooker cup. The keep warm function maintains the ideal serving temperature without overcooking your perfectly measured rice.
Essential Rice Cooker Features

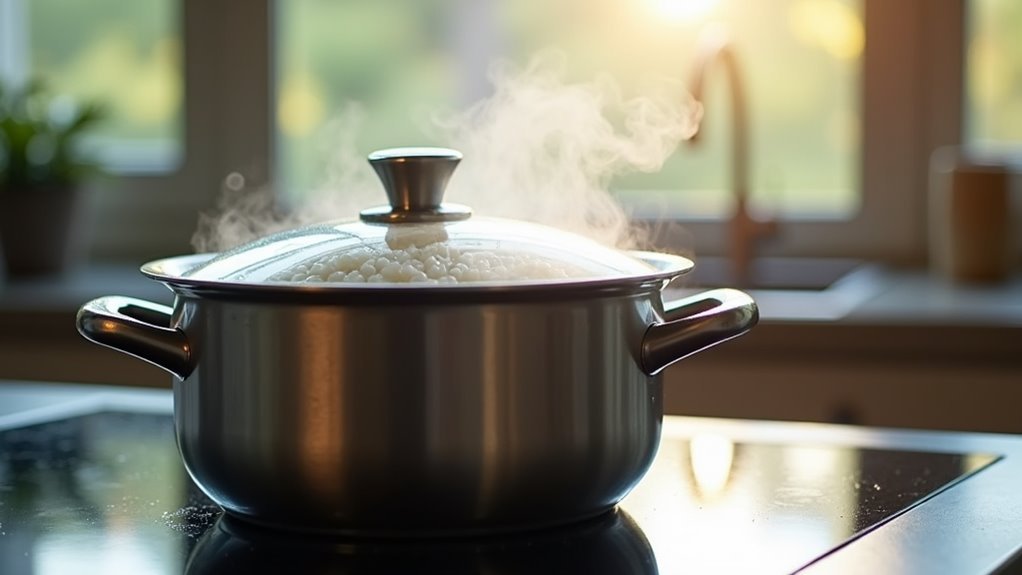
Because modern rice cookers come packed with innovative features, I'm excited to explain how these essential components work together to deliver perfect rice every time. Today's innovative sensor technologies make cooking foolproof, with thermal-sensing devices that perfectly monitor your rice's progress. These versatile cooking functions let you take control of your culinary adventures The heating plate temperature remains constant at 212°F while water is present, ensuring optimal cooking conditions.
With the Zojirushi NS-LGC05XB, you also benefit from a triple heater system for even heating and better cooking results.
Here are three game-changing features you'll love:
- Fuzzy logic technology that adapts to different rice varieties and moisture levels
- Multi-function capabilities that let you cook everything from sushi rice to porridge
- Convenient 24-hour delay timers so you can wake up to freshly cooked rice
With automatic switch-off and warming cycles, you'll never worry about overcooked rice again. The non-stick coating means easy cleanup, leaving you more time to enjoy your perfectly cooked meal. Additionally, the Keep Warm feature maintains ideal rice temperature and freshness, allowing for meal preparation flexibility.
Setting the Correct Cooking Time

Now that you've got your rice cooker's features down, let's master the perfect timing for your long grain rice I'll show you how to nail that timed cooking approach every time.
For pot-style cookers, I recommend setting 20-30 minutes for white long grain rice. If you're using a digital model with temperature monitoring, expect 27-32 minutes for two cups. Don't worry if it takes a few tries to get it right – every cooker's a bit different Ensure you measure the water correctly to achieve the desired consistency.
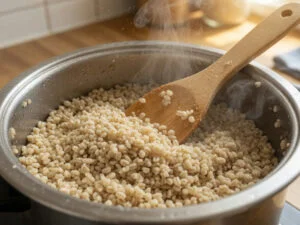
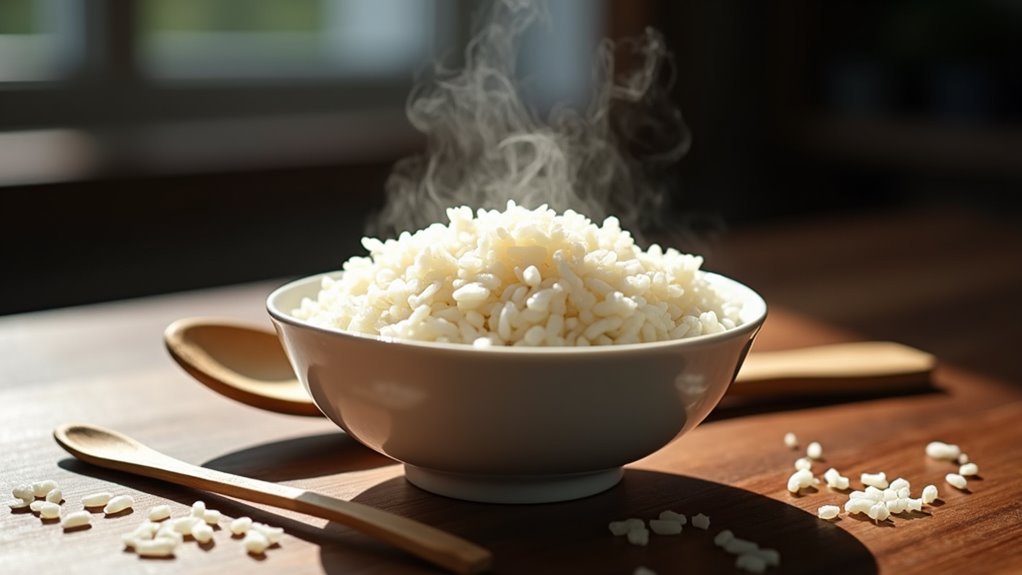
I've found that letting the rice rest for 10 minutes after cooking makes a huge difference. When you're ready to dig in, just fluff it with a fork or chopsticks. Remember, different rice varieties need different times – brown rice takes longer at 30-40 minutes, while jasmine cooks faster at 15-25 minutes. You'll notice your rice will double in size while cooking, so plan your portions accordingly.
Temperature Control Guidelines
Getting your rice cooker's temperature settings right can make all the difference between perfect fluffy rice and a disappointing mess I'll help you master maintaining proper temperature while avoiding hot spots in your cooker.
For ideal results with long grain rice, I recommend following these key steps:
- Use the 'white rice' setting if your cooker doesn't have a specific long grain option
- Place your cooker away from other heat sources to prevent temperature interference
- Keep the steam vent clear and unobstructed for even cooking
It's also important to understand the three phases of rice cooking to ensure each batch is cooked perfectly. I always make sure my cooker's inner pot is completely dry before use – it's essential for preventing malfunction. While the cooker's smart technology handles most temperature adjustments automatically, I never leave it unattended during operation. After extensive research and documentation, I've found that consistently monitoring the first few batches helps identify your specific cooker's optimal timing. Remember, you'll want to unplug it when you're done cooking
Pre-Soaking and Rinsing Methods
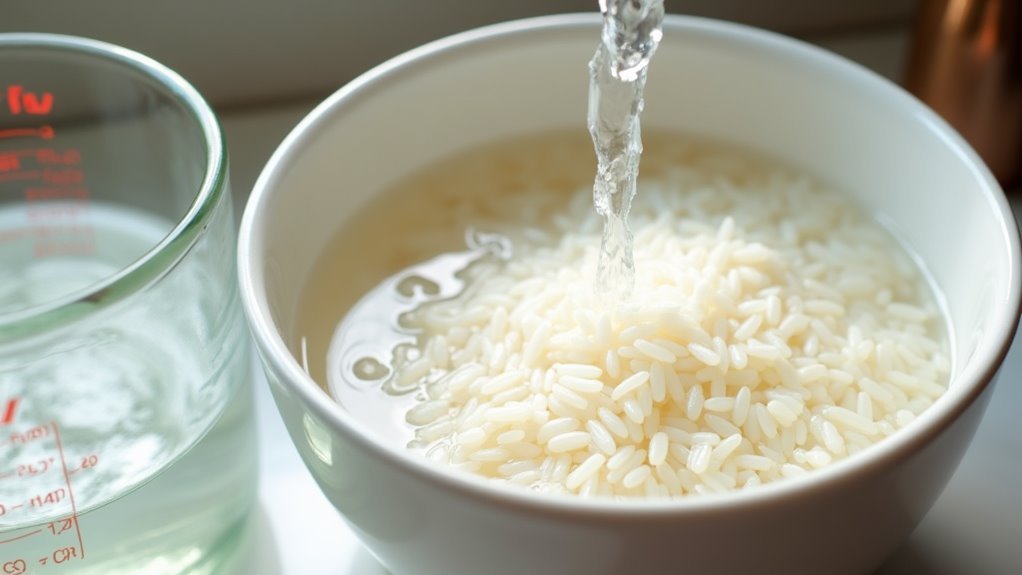
While many rice lovers jump straight to cooking, I've discovered that proper pre-soaking makes a remarkable difference in both nutrition and texture. I'll share my tried-and-true method that'll transform your rice game!
Start by soaking your grains for 7-8 hours in filtered water with a splash of apple cider vinegar – this breaks down those pesky anti-nutrients. While some suggest using a soda solution, benefits are minimal compared to acidic options. After soaking, you'll need to use less water than normal when cooking since the grains have already absorbed moisture.
Watch out for fermentation risks if you soak longer than 24 hours! I always use a glass container and rinse thoroughly afterward using a fine-mesh strainer. Trust me, this extra step is worth it – you'll get faster cooking times, better digestion, and more nutrients from every grain. Plus, you'll notice a cleaner, fresher taste in your finished dish.
Steam Release Techniques

Proper steam release can make or break your perfectly cooked rice, and I'm excited to share my expertise on this imperative step! While quick release advantages include saving time, I've found natural release is truly the way to go for long grain white rice. Let me tell you why: natural release drawbacks are practically non-existent when it comes to rice cooking.
After 3 minutes of high-pressure cooking, move your cooker off the heat. Let it rest undisturbed for 10 minutes (this is your natural release time). The residual heat continues cooking the rice during this resting period. Carefully release any remaining pressure after the waiting period.
This method guarantees your rice maintains that ideal texture and moisture level you're looking for. It's worth those extra minutes for consistently amazing results!
Keep Warm Function Settings
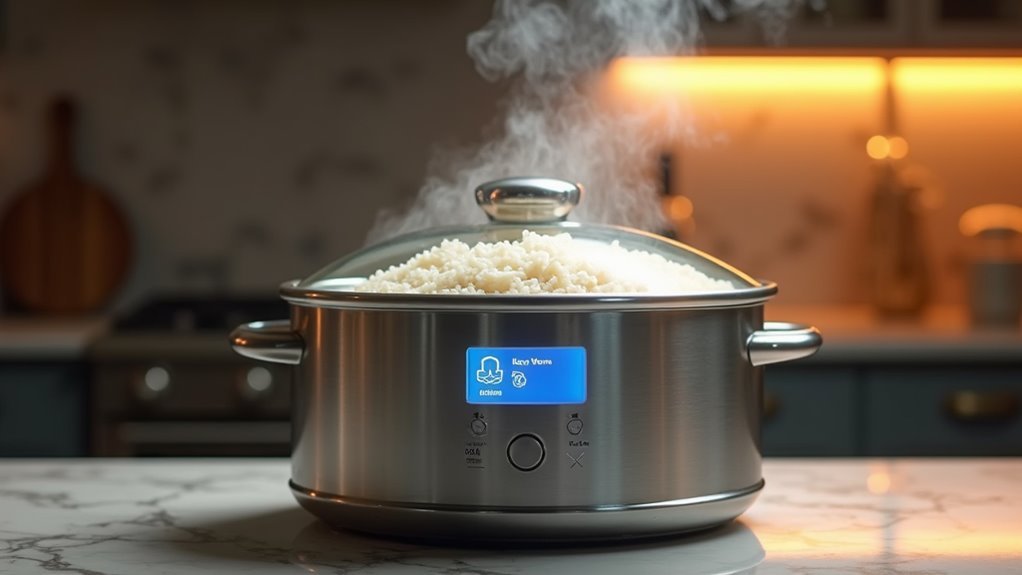
Now that you've mastered the steam release technique, let's focus on the keep warm function – a feature I absolutely love! I can't tell you how excited I'm to share how this amazing feature will revolutionize your rice cooking experience.
Here's what makes it so great: Once your rice is done cooking, your cooker will automatically switch to keep warm mode, maintaining the perfect serving temperature. I've found that leaving the rice on this setting for at least 30 minutes works wonders. The cooker's smart technology will auto adjust temperature to prevent overheating, keeping your rice fresh and ready to serve. You're free to focus on other dishes while your rice stays at the ideal temperature. Trust me, this function will become your new best friend in the kitchen! The Yumami and Premium Taste settings enhance the rice's natural flavors during the keep warm phase.
Troubleshooting Common Issues
Having trouble with your rice cooker? I've found that managing user expectations and handling cooking errors starts with understanding common issues. Let me share my top troubleshooting tips that'll help you get back to making perfect rice.
- If your cooker's switching to warm mode too soon, clean the heater plate and sensor with a scotch brite pad – buildup can cause inaccurate temperature readings
- When steam's escaping from the sides, check that the inner lid's properly attached and vents aren't blocked
- For uneven cooking issues, inspect your pot for dents that might be affecting heat distribution. Consider getting a warranty replacement pot if damage is found.
I always recommend unplugging and restarting your cooker first – it's amazing how often this simple fix works! Remember to stay within the maximum capacity for your specific rice type and keep your cooker clean for consistent results.
Adjusting Settings for Different Amounts

Getting the perfect rice consistency depends on adjusting your settings for different quantities, and I'll show you exactly how to nail it every time. When making batch size adjustments, I've found that the basic water ratios stay consistent, but you'll need to fine-tune based on your specific cooker. For optimal results, using the Rice mode setting will automatically cook for 12 minutes under low pressure. I always check the inner bowl markings for guidance, especially with larger amounts.
Here's what I love about modern rice cookers – they'll automatically adjust cooking times as you scale up. For the best results, I recommend considering water temperature considerations too. Start with room temperature water, and if you're cooking a large batch, you might need an extra minute or two of cooking time. Trust me, once you've mastered these adjustments, you'll never worry about serving sizes again!
Frequently Asked Questions
Can I Use the Same Settings for Converted or Parboiled Rice?
I recommend adjusting your settings for pre-cooked rice varieties like converted or parboiled rice. You'll need to increase the water to rice ratio to 1:2 while using the white rice setting.
How Long Does Rice Stay Safe in Keep-Warm Mode?
I'll tell you straight: your rice will stay perfectly good for about 12 hours in keep-warm mode, as long as your cooker maintains that sweet spot between 135-150°F. After that maximum cook time, it's safest to refrigerate.
Should Settings Be Adjusted for Enriched Versus Non-Enriched Long Grain Rice?
I'd keep enriched rice settings standard to preserve rice fortification impact, but I'll adjust water ratio down for non-enriched varieties. Nutrient retention considerations mean you shouldn't rinse enriched types.
Can I Add Seasonings Directly to the Cooker Without Changing Settings?
I can confirm you'll get great results adding seasonings directly to your rice cooker – seasoning placement won't affect cooking duration. Go ahead and toss them in with your water and rice.
Is Altitude Adjustment Necessary for Long Grain Rice Cooker Settings?
I'd strongly recommend adjusting for altitude since it affects rice cooking markedly, regardless of rice variety selection or high humidity levels. You'll find your rice cooks more evenly with proper altitude settings.
Conclusion
I'm thrilled to share that mastering your rice cooker's long grain settings isn't rocket science – it's more like conducting a delicate dance of water and time. With the right ratios and settings I've outlined, you'll transform those humble grains into fluffy clouds of perfection. Remember, your cooker's your partner in this culinary journey, and together you'll create rice that'll make every meal shine.