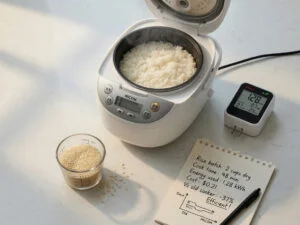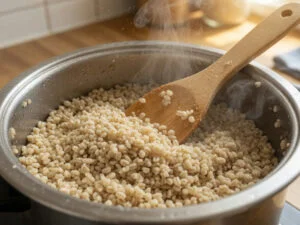
Yes — you can absolutely cook brown rice in a rice cooker, and it comes out wonderfully fluffy once you nail the technique. The headline answer: use about 2 to 2¼ cups of water per cup of dry brown rice, and give it 40–50 minutes to cook. That’s really it at the headline level, but there’s enough nuance worth knowing that this guide is going to save you from a few batches of crunchy or gummy disappointment along the way.
- Water ratio is the critical variable: Brown rice needs 2 to 2¼ cups of water per cup of dry rice — noticeably more than white rice.
- Cook time is longer: Expect 40–50 minutes versus roughly 25–30 minutes for white rice.
- A dedicated brown rice setting takes the guesswork out: Many modern rice cookers manage the timing and temperature automatically.
- Resting time makes the difference: Keep the lid shut for 10–15 minutes after the cook cycle ends — this is what turns damp grains into fluffy ones.
What’s the Difference Between Brown Rice and White Rice?
Brown rice and white rice start as the same grain — the difference is what happens at the milling stage. Brown rice keeps all three layers of the grain intact: the fibrous bran on the outside, the nutrient-dense germ underneath that, and the starchy endosperm at the core. White rice has the bran and germ stripped away during processing, leaving only the endosperm.
That outer bran layer is the reason brown rice behaves so differently in the pot. It acts as a physical barrier that slows water absorption — which is why brown rice consistently needs more water and more time than white rice to cook through properly. The nutritional payoff for that extra patience is significant. Brown rice contains substantially more fiber, more B vitamins, more magnesium, and a higher concentration of antioxidants than its polished counterpart. Whole grain consumption research consistently links brown rice with better blood sugar regulation and reduced risk of certain chronic conditions compared to refined grain alternatives.
The trade-off is a slightly nuttier flavour and a chewier bite — which most people actually come to prefer once they’ve dialled in the cooking process. The good news is that your rice cooker handles most of the heavy lifting for you, especially if it has a dedicated brown rice or whole grain setting.
Does Brown Rice Need More Water in a Rice Cooker?
Yes, it does — and this is the single most common reason people end up with undercooked or crunchy brown rice. That bran coating on every grain needs extra moisture to soften and allow the starches inside to fully hydrate and expand. If you’ve been using the same water amount you’d use for white rice, that’s almost certainly where your results are going wrong.
As a general rule, white rice works on a roughly 1:1.5 to 1:2 ratio of rice to water. Brown rice bumps that up to around 1:2 to 1:2.25. A reliable starting point is what’s sometimes called the 1-2-3 formula: 1 cup of dry brown rice plus 2 cups of water yields approximately 3 cups of cooked rice. For shorter grain varieties, nudge the water toward 2¼ cups. If you want to go deep on ratios across every grain type you might cook, the Rice Cooker Water Ratio Guide has a comprehensive breakdown worth bookmarking.
One extra factor worth flagging: altitude. At elevations above around 3,000 feet, water boils at a lower temperature, which slows cooking. If you’re at elevation, add roughly 2 extra tablespoons of water per cup of rice to compensate for the reduced boiling efficiency.
What’s the Best Water-to-Brown-Rice Ratio for a Rice Cooker?
The sweet spot for most brown rice varieties in a standard rice cooker is 1 cup of dry brown rice to 2¼ cups of water. A few variables can shift that slightly:
- Long-grain brown rice (e.g., basmati): 1 cup rice to 2–2¼ cups water
- Short-grain brown rice: 1 cup rice to 2¼–2½ cups water
- Pre-soaked brown rice (soaked 30 minutes or more): Reduce water by about ¼ cup, since the grains have already absorbed some moisture
- Larger batches (3+ cups of rice): Scale proportionally, but check the manufacturer’s maximum fill line before you start
If your rice cooker has brown rice water lines marked on the inner pot, start there — those marks are calibrated for your specific appliance. Always check your results the first time you try a new brand or variety of rice. Grain size and how recently the rice was harvested both affect how much water it needs. Older, drier rice often benefits from a small extra splash of water.
How Long Does Brown Rice Take in a Rice Cooker?
Budget 40 to 50 minutes for a standard batch of brown rice in a rice cooker, plus 10–15 minutes of resting on warm after the cycle ends. That compares to roughly 25–30 minutes for white rice — a meaningful difference, but you’re largely hands-off for the entire duration, which is one of the biggest advantages of cooking rice this way.
Rice cookers with a dedicated brown rice setting automatically extend the soak period and cooking cycle to account for that tough bran layer. Higher-end fuzzy logic models go further still, adjusting temperature and timing in real time based on the batch size and live feedback from the heating system. If you’ve ever been curious about how your cooker seems to “know” when rice is done, the guide to what rice cooker thermal sensors actually do is genuinely fascinating and explains the whole mechanism clearly.
On a basic on/off cooker, the machine switches to warm when internal temperatures indicate the free water has been absorbed — but because brown rice takes longer to draw in that moisture, the switch often happens before the grains are fully cooked. This is exactly why the warm rest period isn’t optional: those final 10–15 minutes with the lid closed allow the retained steam to finish the job.
Should You Use a Brown Rice Setting or the Regular Cook Setting?
If your rice cooker has a brown rice setting, use it every single time. These settings run a longer cook cycle at a slightly lower simmer — which is precisely what the bran layer needs in order to soften properly without scorching the bottom of the pot. The texture difference between the right setting and just hitting the standard button is noticeable, particularly if you’re aiming for light, fluffy grains rather than something dense and chewy.
Some premium cookers take this even further with a GABA setting — a specialised mode that holds the rice at around 104°F (40°C) for an extended pre-soak period before the cooking cycle begins. This warm soak activates an enzyme process that increases the GABA content of the grain along with other beneficial compounds. If you’re curious about that process, there’s a full breakdown of the best rice cooker settings for GABA brown rice that covers how to get the most from that feature.
If your cooker only has one setting, that’s absolutely fine. Use the correct water ratio, let the full cycle run, keep the lid closed on warm for 10–15 minutes afterward, and you’ll still get excellent brown rice. It just requires slightly more attention than the fully automated experience of a dedicated programme.
Step-by-Step: How to Cook Brown Rice in a Rice Cooker
Here’s the full process from measuring cup to dinner table:
- Measure your rice. Use the measuring cup that came with your cooker. Most rice cooker cups are 180 ml — about three-quarters of a standard US measuring cup — so using a regular cup measure will throw off your ratios.
- Rinse thoroughly. Place the rice in the inner pot and rinse under cold running water for about 30 seconds, swirling until the water runs mostly clear. This removes loose surface starch that makes rice gummy and sticky.
- Soak if you have time. Add the cooking water to the pot and let the rice soak for 30 minutes before starting. Soaking softens the bran coating and can cut total cook time by up to 20%, while also producing more evenly cooked grains. Skip it if you’re in a hurry — the results are still good without it.
- Add the correct amount of water. Aim for 2 to 2¼ cups of water per cup of dry rice. Adjust upward slightly for short-grain varieties or for cooking at altitude.
- Season the water. A pinch of salt stirred into the water before cooking seasons every grain from the inside out. A small knob of butter or a drizzle of olive oil is also a nice addition that prevents clumping.
- Choose the right setting. Select the brown rice or whole grain setting if your cooker offers one. Otherwise, use the standard cook mode.
- Start the cooker and step away. Don’t open the lid during the cook cycle. Every time you lift it, steam escapes, the internal pressure drops, and your cook time extends unpredictably.
- Rest on warm. When the cycle ends and the cooker switches to warm, leave everything exactly as it is for 10–15 minutes. This is the step most people skip, and it’s the one that makes the biggest difference to final texture.
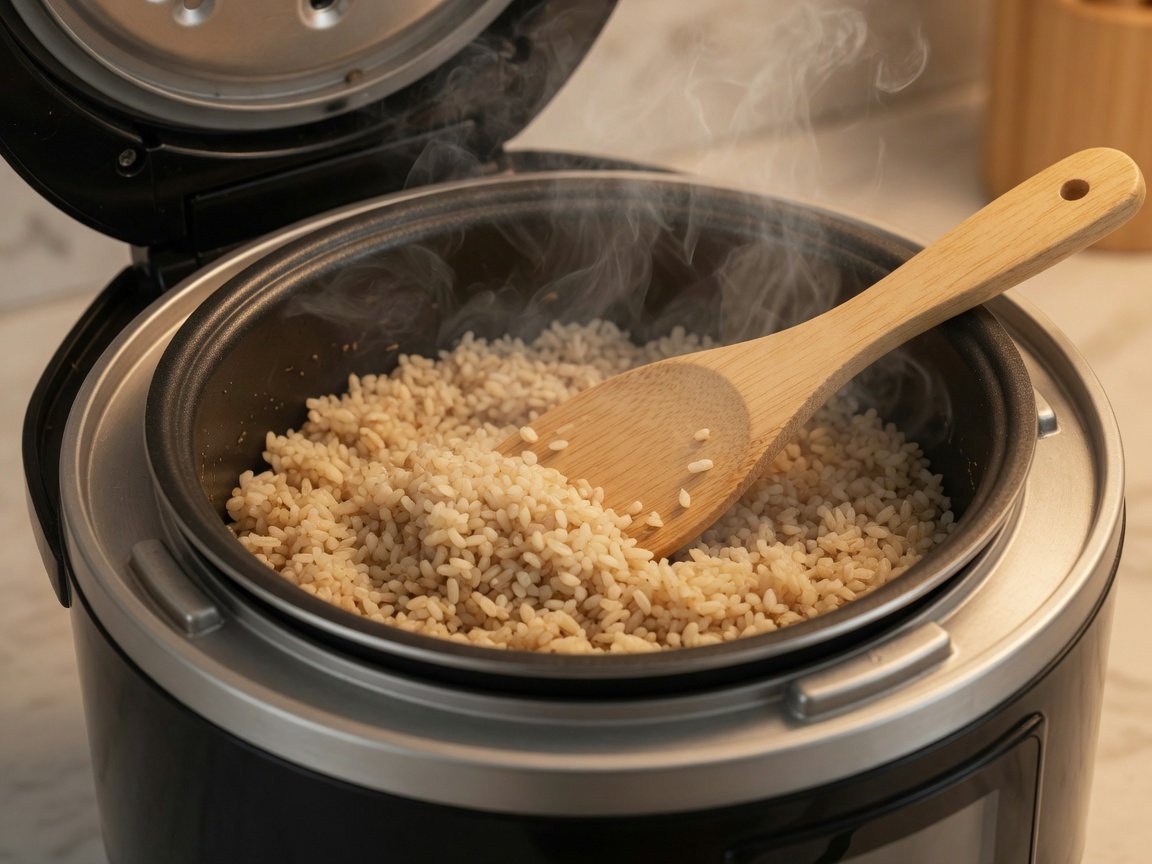
- Fluff and serve immediately. Open the lid and use a rice paddle or wooden spoon to gently fold the rice from the bottom of the pot upward. Serve right away, or hold on warm for up to an hour.
Why Is My Brown Rice Mushy, Sticky, or Still Hard?
Texture problems are the most common complaint with brown rice, but the cause is almost always identifiable — and fixable. Here’s a quick diagnostic to run through:
| Problem | Most Likely Cause | Fix |
|---|---|---|
| Mushy or wet rice | Too much water | Reduce by ¼ cup next time; leave the lid off for 5 minutes after cooking to let excess steam escape |
| Sticky or gummy rice | Skipped the rinse; excess surface starch | Always rinse under cold water before cooking |
| Hard or crunchy grains | Not enough water or cook time | Add ¼ cup more water; extend the warm rest to 20 minutes |
| Burnt bottom layer | Too little water; pot running dry before grains absorb | Add more water; check if your pot has hot spots from a worn coating |
| Unevenly cooked | Lid lifted mid-cook; rice not soaked | Resist opening the lid; try a 30-minute presoak next time |
The number one culprit is too little water. Because the bran coating restricts absorption, brown rice simply can’t draw in moisture as quickly as white rice — it needs both extra liquid and extra time. If you’re consistently getting undercooked results on the standard setting, extending the warm rest by 10 minutes often solves it entirely without any other changes. For a wider look at what causes rice to go wrong in a cooker, the guide to preventing overcooked rice in a rice cooker covers many of the same variables from the opposite angle and is a useful companion read.
Can Any Rice Cooker Cook Brown Rice?
Technically, yes — any rice cooker can handle brown rice. But the experience varies quite a bit depending on what you’re working with.
A basic on/off cooker with a single heating element will cook brown rice successfully as long as you nail the water ratio and allow the full warm rest period afterward. The process requires a bit more attention, but the results can still be very good. These entry-level machines represent the majority of rice cookers in use worldwide, and brown rice is absolutely within their capabilities.
Fuzzy logic and induction heating models — the mid-to-high-end range — offer a noticeably more reliable experience. They can monitor and adjust the cooking process dynamically, compensating automatically for factors like grain age, batch size, and ambient temperature. If you’re cooking brown rice multiple times a week, this adaptive technology genuinely makes a consistent difference to your results without any extra effort on your part.
And once you’re comfortable with brown rice, it’s worth remembering that your rice cooker is capable of a lot more than rice. If you haven’t explored everything else a rice cooker can handle — from soups and lentils to steamed vegetables and even desserts — you might be surprised by how versatile the appliance actually is.
Pro Tips for Perfect Brown Rice Every Time
These are the small refinements that consistently separate great brown rice from mediocre brown rice:
- Always rinse first. Even a quick 30-second rinse makes a noticeable difference. It removes loose starch from the grain surface, which is the main driver of gummy, clumped rice.
- Soak when you can. A 30-minute soak in the cooking water before you start the cycle softens the bran, shortens cook time, and produces more evenly hydrated grains throughout the batch.
- Don’t lift the lid. Every time you open the cooker mid-cycle, you release steam that the rice still needs. Trust the machine and let it do its job.
- Season the water, not just the finished rice. Salt added to the cooking water seasons every grain from the inside out — which is a fundamentally different result from salting the surface after cooking.
- Rest on warm every time. The 10–15 minute rest period with the lid closed isn’t a nice-to-have; it’s the final stage of cooking. Skipping it is the fastest way to end up with rice that’s slightly wet on the bottom and underdone at the centre.
- Fluff promptly. Once the rest period is done, fluff the rice immediately. Leaving it sealed for too long allows condensation from the inside of the lid to drip back onto the surface and wet the top layer.
- Refrigerate leftovers quickly. Brown rice should go into an airtight container and into the fridge within an hour of cooking. It keeps well for up to 4 days and reheats easily with a splash of water.
Frequently Asked Questions
Can you cook brown rice in a rice cooker?
Yes, absolutely. Brown rice cooks well in any rice cooker — you just need to use more water than you would for white rice (around 2 to 2¼ cups per cup of dry rice) and allow more time, typically 40–50 minutes plus a 10–15 minute rest on warm. Rice cookers with a dedicated brown rice or whole grain setting make the whole process nearly automatic.
How much water do I need for brown rice in a rice cooker?
The standard starting point is 2 to 2¼ cups of water for every 1 cup of dry brown rice. The extra water compared to white rice is needed because the bran layer takes longer to absorb moisture. If you’ve pre-soaked the rice for 30 or more minutes, reduce the cooking water by about ¼ cup to compensate for what the grains have already taken in.
How long does brown rice take in a rice cooker?
Most batches take 40–50 minutes on the cook cycle, plus an additional 10–15 minutes resting on warm with the lid closed. Budget about an hour from start to table and you’ll never be caught short. Models with a dedicated brown rice setting will often take slightly longer — up to 60 minutes — because the programme includes a pre-soak phase before heating begins.
Why is my brown rice still hard after cooking?
Hard or crunchy brown rice almost always comes down to insufficient water or not enough cook time. Add ¼ cup more water, close the lid, and let it sit on the warm setting for another 10–15 minutes. If it’s still undercooked after that, add a small splash of hot water and run a second short cook cycle. Going forward, increase your baseline water ratio by ¼ cup.
Should I soak brown rice before cooking it in a rice cooker?
Soaking is optional, but it’s genuinely worth doing when you have 30 minutes to spare. Soaking brown rice in the cooking water before starting the cycle softens the bran coating and can reduce total cook time by up to 20%. It also tends to produce more evenly cooked, softer grains throughout the batch — particularly for short-grain varieties that tend to be denser.
Can I cook brown rice in a basic rice cooker without a brown rice setting?
Yes, a basic on/off cooker handles brown rice just fine. Use the standard cook setting with 2¼ cups of water per cup of rice. Once the cooker switches to warm, resist the urge to open the lid and let the rice rest for 10–15 minutes. This rest period does much of the same work as a dedicated programme — and the results are consistently good.
Is brown rice actually healthier than white rice?
Brown rice retains the bran and germ layers that are removed during the milling of white rice, so it contains more fiber, more B vitamins, and higher levels of minerals like magnesium and phosphorus. It also has more antioxidants overall and a lower glycaemic index than white rice — meaning it causes a slower, more gradual rise in blood sugar after eating. For most people, the nutritional case for choosing brown rice is straightforward. The main barrier is usually cooking it well, not actually wanting to eat it once you do.
The Bottom Line
Brown rice is one of the most worthwhile things you can make in a rice cooker — and once you’ve locked in the water ratio and the rest time, it becomes nearly effortless. The formula is simple: 2 to 2¼ cups of water per cup of dry rice, a 40–50 minute cook cycle, and 10–15 minutes of undisturbed rest on warm before you open the lid. Everything else is refinement from that foundation.
If you’re cooking brown rice regularly and your current machine doesn’t have a dedicated whole grain setting, it’s worth considering an upgrade — the consistency improvement over a basic on/off cooker is real. And if you want to go deeper on technique, variety-specific water ratios, and edge-case troubleshooting, the ultimate guide to cooking brown rice in a rice cooker covers everything here and then some.
Now go cook some brown rice. You’ve got everything you need.
— “`json