
TL;DR (Quick Answer)
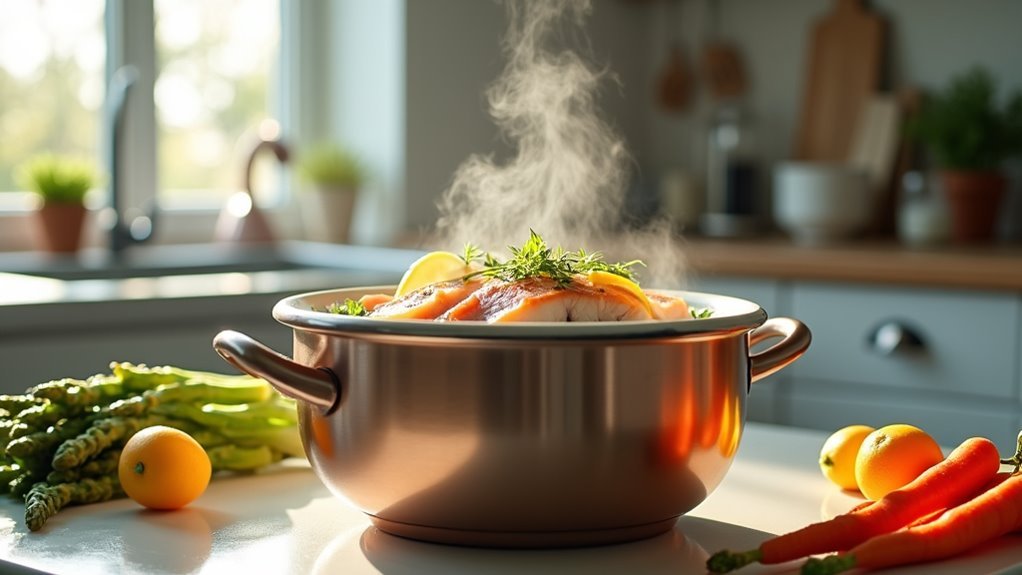
A rice cooker can gently poach or steam fish and shellfish, helping retain moisture and delicate flavor by cooking at low, consistent heat with minimal evaporation. To poach fish, place fillets in the cooker, cover with water, stock, or wine, add herbs such as parsley or bay leaves, and cook until just done, usually within a few hours depending on thickness. Shellfish like shrimp, clams, and mussels should be added near the end of cooking stews or chowders so they warm through without overcooking.
I’ll be honest—I used to think rice cookers were just for, well, rice. Then I discovered you can actually steam fish in them while your rice cooks underneath, which is probably one of the smartest kitchen shortcuts I’ve found. It’s like getting two dishes done at once without hovering over a stove. The setup’s surprisingly simple, though there’s definitely a technique to getting that fish perfectly tender instead of rubbery.
Prep Your Fish and Rice Cooker Ingredients
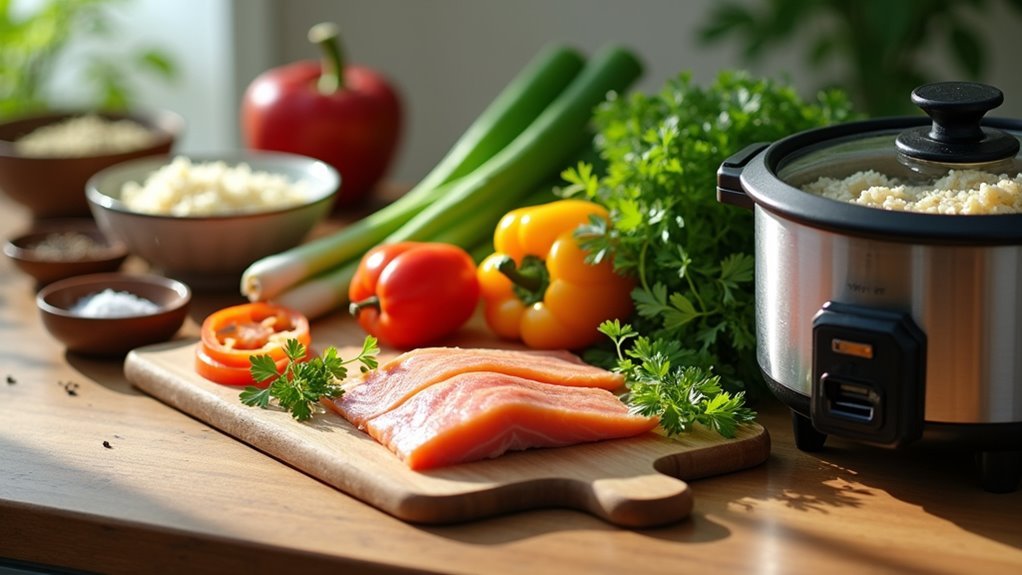
Before you even think about turning on that rice cooker, you’ll want to get your fish properly prepped—and honestly, this step makes or breaks the whole dish.
If you’re using frozen fish, thaw it completely, rinse briefly under running water, then pat dry.
In the rice cooker, use its Steam setting for about 20 minutes to ensure the fish remains fragrant and flaky.
I usually give mine a quick hot water rinse to cut that fishy smell.
Season with white pepper and salt—simple flavor pairing that works.
Lay ginger on your steaming plate, add the fish, then spread fermented soybean paste on top.
Measure your rice and water separately.
Ingredient substitutions?
Regular soybean paste works fine, actually.
Choose the Right Fish for Rice Cooker Steaming
Now that your ingredients are prepped and ready to go, picking the right fish actually matters more than you’d think—I’ve definitely learned this the hard way.
Don’t make my mistakes—the fish you choose will make or break your entire dish.
I always opt for lean, white varieties like cod, halibut, or Panagsius catfish.
Fat content really affects how cleanly everything steams; fatty fish can get oily and messy.
Fillet size is essential too—you want pieces that fit comfortably on your steaming rack without hanging over the edges.
Fresh fillets should smell clean and look moist.
If you’re using frozen, thaw completely and pat dry first.
Trust me, it makes all the difference.
A key consideration is choosing a cooker with a steaming tray that fits your fillets and clears space for even steaming.
Set Up Your Rice Cooker and Steaming Plate
Before I get into the actual steaming process, I need to make sure my rice cooker can handle everything I’m planning to cook—because there’s nothing worse than realizing halfway through that your lid won’t close properly.
I always check that I’ve got a heat-resistant plate or dish that’ll sit comfortably inside without cracking under the steam’s heat.
A steaming tray is ideal because it keeps the fish above the water and makes full use of the cooker’s steaming function.
The key here is creating some kind of elevated platform, maybe using a steam stand or even just an inverted ramekin, so the fish isn’t sitting directly in the water below.
Check Cooker Capacity First
Since you’re working with limited real estate inside that rice cooker, I’d say the first thing you need to nail down is whether everything’s actually going to fit.
I mean, you’ve got rice on the bottom, then a steaming plate or stand—maybe even an inverted ramekin if you’re improvising—and the fish on top.
You need to think about capacity limits here.
Check that there’s enough lid clearance so steam can actually circulate without everything getting squished together.
In my experience, smaller portions work best.
Otherwise, well, you’re basically playing Tetris with dinner.
Prepare Heat-Resistant Steaming Dish
Once you’ve confirmed that everything’s going to fit, you’ll want to grab your heat-resistant dishes—and I mean actually heat-resistant, not just something that looks sturdy.
Material selection matters here because flimsy containers can warp or, well, worse.
I typically use ceramic or tempered glass dishes that fit comfortably inside with clearance for steam circulation.
If you’ve got a steamer stand, use it to elevate your dish; otherwise, an inverted ramekin works surprisingly well as backup support.
Before stacking anything, make sure dish hygiene is spot-on—dry and clean surfaces prevent moisture from pooling during steaming.
Create Elevated Steam Platform
Setting up the platform inside your rice cooker is where things get—well, let me just say it’s more straightforward than it looks, but you’ll want to be deliberate about it.
I use steam-compatible stands or an inverted ramekin to create that elevated space above the rice.
Platform design matters here because you need proper clearance for steam circulation.
Place your fish on a heat-resistant plate that sits securely on top—rack stability is essential, actually.
Stack everything so the rice sits at the bottom, then your steaming rack, then the fish.
Just confirm it all fits before turning on the heat.
Season and Marinate Your Rice Cooker Fish
Why does marinating matter so much when you’re steaming fish in a rice cooker?
Well, it’s all about flavor balance and marinade science working together.
I lightly season my fish first—just salt and white pepper—then apply my soy-based mixture: about 1/2 tablespoon fermented soybean paste, 1 teaspoon soy sauce, and 1 teaspoon oil.
I add shredded ginger and green onions (roughly 1/2 tablespoon each) for aromatics.
The key is marinating up to four hours without overdoing the oil.
If you’re using frozen fillets, thaw completely, rinse, and pat dry first for better absorption.
Layer Fish Over Rice and Start Cooking
Begin by measuring out your rice—I usually go with about one-sixth of what I’d normally cook, maybe a bit more if I’m really hungry—and add it to the rice cooker with the appropriate amount of water. This one-pot approach aims to hydrate both grain and fish in a single vessel, highlighting the easy cleanup benefit of one-pot meals. Start the normal cooking mode first.
Once it’s going, I carefully position my seasoned fish on top, using a heat-resistant dish if needed. The layering technique here is key.
Then I add broccoli during the final minutes—steam timing matters since you don’t want mushy vegetables. After it finishes, I let the lid stay closed for maybe two extra minutes to keep everything moist.
Time Rice Cooker Fish Perfectly Every Time
How do you nail the timing without turning your fish into rubber or leaving it dangerously undercooked?
I’ve found that timing consistency starts with understanding your fillet’s thickness.
Also, always ensure the lid is tight and locked before starting to steam to prevent steam from escaping and ensure even cooking lid tight.
Thin fillets need about 6 minutes, while thicker cuts require roughly 10 minutes per inch.
I always use the normal mode—not quick—and set a timer for around 24 minutes total.
When the beeper goes off, well, don’t rush it.
Let it rest 1–2 minutes with the lid on for flavor balance.
Test doneness with a chopstick: if it passes through easily and the center’s opaque, you’re golden.
It’s actually pretty straightforward once you get the hang of it.
Check When Fish Is Cooked Without Overdoing It
I check doneness cues by watching for translucence to fade—that’s when the fish goes from glassy to opaque.
For texture testing, I use a chopstick pressed gently into the center.
It should pass through easily, and the fish should flake with a fork.
Here’s the thing: once the cooker beeps, I let it rest 1–2 minutes with the lid closed.
If I’m uncertain, I check early and re-steam briefly.
Residual heat finishes cooking, so maybe err on the cautious side to avoid overdoing it. This approach echoes the resting phase concept, where residual heat finishes cooking and helps prevent overcooking Resting phase.
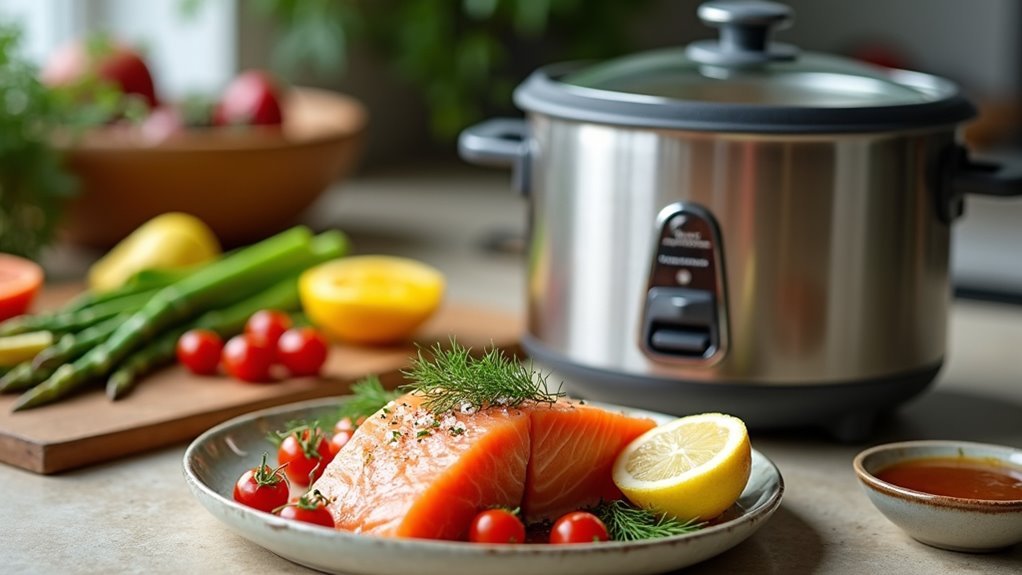
Add Sauce, Oil, and Green Onion to Finish
Dressing the fish right after it’s done is—well, it’s honestly where the magic happens.
I scatter sliced green onion over the top first for that fresh pop of color and aroma.
Then comes the sauce drizzle: soy sauce around the edges, followed by a little oil for moisture and shine.
If you’ve got time, heat oil until it’s lightly smoking and pour it over—the sizzle creates this deeper, richer fragrance that’s, I think, absolutely worth it.
No oil? Olive oil works too.
Serve immediately while everything’s vibrant and hot.
Using a rice cooker helps ensure the fish stays moist and evenly cooked.
Steam Vegetables in Your Rice Cooker Tower
I think the best part about this tower setup is that you can steam vegetables right alongside your fish and rice—it’s like building flavor in layers, literally.
Broccoli florets work great here, but honestly, green beans or asparagus are just as good if that’s what you’ve got on hand.
The trick is timing it right and stacking everything so the steam circulates properly without, you know, turning your veggies into mush.
Just remember to monitor the fish’s internal temperature to ensure safety and juiciness while keeping the steam circulating across the stack.
Vegetable Selection and Timing
Adding vegetables to your rice cooker tower transforms a simple meal into something—well, actually complete.
I’ve found broccoli florets with stems work best, along with green beans, asparagus, and cauliflower.
Here’s the thing about timing: broccoli goes in last, steaming just a few minutes to stay crisp-tender.
The tower design gives vegetables ample steam space, so they cook quickly without, you know, weighing down the rice.
I think seasonal availability and crop rotation make choosing vegetables easier.
Light salt seasoning works, though XO sauce adds incredible flavor.
It’s like layering flavors—rice first, fish next, vegetables to finish.
Stacking and Seasoning Tips
When you’re building your rice cooker tower, the architecture—well, it’s actually pretty simple once you get the hang of it.
I use steam-compatible stands or maybe an inverted ramekin to create that second tier above the rice.
Stack dynamics matter here: don’t crowd things or steam won’t circulate properly.
Cut your vegetables uniformly so they cook evenly, then season lightly with salt.
For seasoning balance, I think a drizzle of sesame oil or XO sauce works beautifully without overpowering the delicate steamed texture.
Verify fit before cooking—you don’t want any surprises when everything’s already going.
Frequently Asked Questions
How Long Does It Take to Steam Fish in a Rice Cooker?
I’ve found thin fillets need just 6 minutes while thick cuts require 10 minutes per inch. Following these timing guidelines with proper moisture control guarantees your fish steams perfectly without drying out or becoming rubbery.
Can You Steam Seafood in a Rice Cooker?
Yes, I can confirm steaming seafood in a rice cooker works beautifully. I’ll place shrimp, fish, or shellfish on a steaming plate above the rice, then explore seasoning options like lemon, garlic, or ginger.
Can You Cook Salmon in a Rice Cooker With Rice?
I’ve watched salmon turn perfectly pink like a sunset in about 8 minutes above simmering rice. You can absolutely cook salmon using a 1:1 rice ratio, though I’d check earlier since it cooks faster than white fish.
Can I Cook Cod in a Rice Cooker?
Yes, I recommend cooking cod in your rice cooker—its firm texture works perfectly. I suggest seasoning with salt and white pepper, then steaming it above the rice for 6–10 minutes until it’s opaque and flaky.