Getting perfect rice from your rice cooker every single time is completely achievable — and it doesn’t require any special skills. The secret comes down to a few fundamentals: the right water-to-rice ratio, the correct settings for your rice type, and a clean, well-maintained appliance.
Rice cookers are used daily by billions of people across the globe — rice itself is a dietary staple for more than 3.5 billion people worldwide. But even this remarkably simple appliance can produce frustrating results when a few key details are off. The good news? Most rice cooker problems have straightforward fixes once you know what to look for.
- Water ratio is everything: Too much or too little water is the root cause of the majority of texture problems
- Rinsing removes surface starch and prevents clumping — it takes 2 minutes and makes a real difference to the finished result
- Altitude affects your cooker: Homes above 3,500 feet typically need extra water and extended cooking time
- Regular cleaning maintains performance: Starch buildup and residue degrade results over time in ways that are easy to overlook
How Does a Rice Cooker Actually Work?
Before diving into tips and fixes, it helps to understand what’s actually happening inside that little appliance. A rice cooker is essentially a sealed environment where water heats rapidly and transfers that energy evenly into the rice. The sealed chamber concentrates steam and maintains consistent cooking conditions throughout the entire batch.
Most rice cookers rely on a thermal sensor to monitor internal temperature and govern the cooking cycle. That sensor detects when the water has been fully absorbed by the rice — at that point, with no liquid left to absorb heat, the temperature inside the pot rises above 212°F (100°C). This temperature spike signals the cooker to switch off or transition to keep-warm mode automatically.
This is precisely why the water ratio matters so much. Use too little water and the sensor triggers early, before the rice has cooked through. Use too much and the rice absorbs liquid past its ideal texture. Understanding this mechanism makes it far easier to diagnose what went wrong when your results are off.
Basic models rely on this single temperature trigger to run the whole cook cycle. Higher-end models do a great deal more — if you’re curious about the technology gap between entry-level and premium appliances, it’s worth knowing that an advanced rice cooker can make a measurable difference in consistency across a range of rice varieties.
What’s the Right Water-to-Rice Ratio?
The water-to-rice ratio is the single most impactful variable you control when using a rice cooker. Nail it, and you’ll get consistently fluffy, well-separated rice. Get it wrong, and no amount of skill or expensive equipment will save the batch.
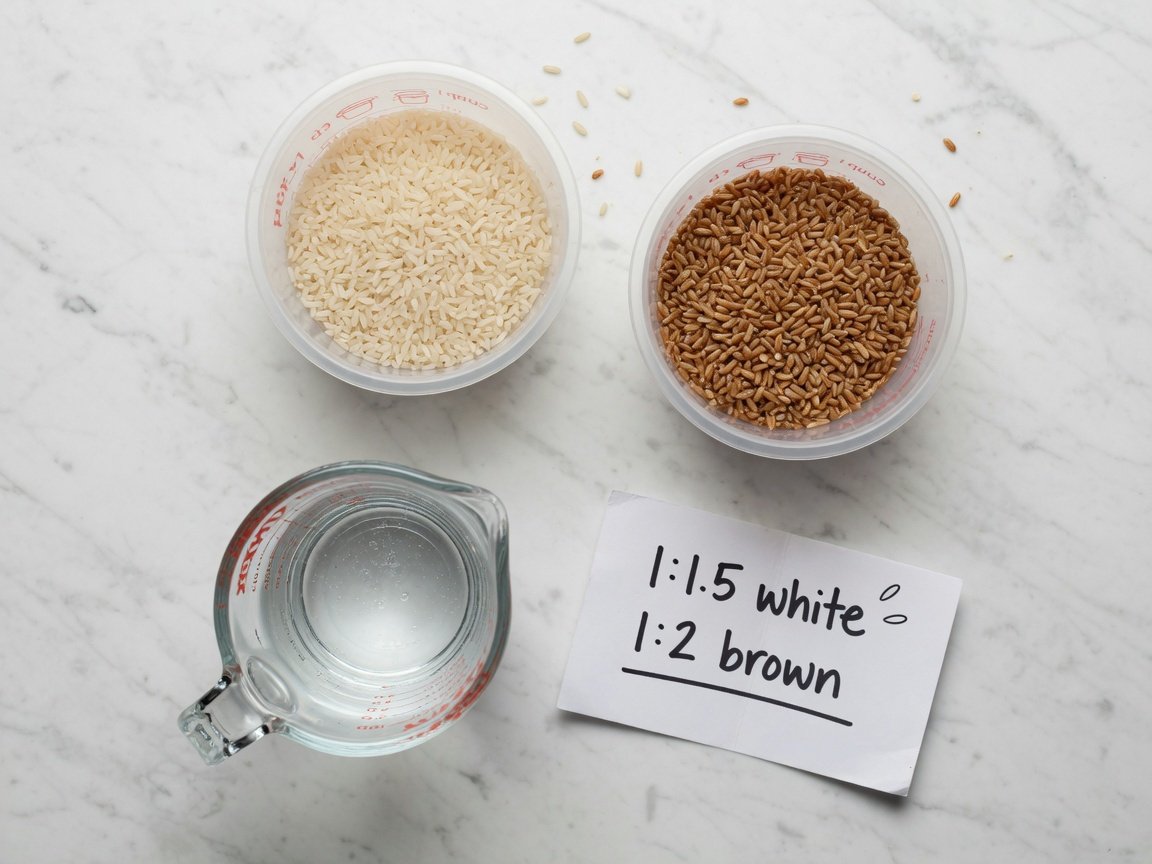
The standard ratio for white long-grain rice is 1 cup of rice to 1.5 cups of water. But different rice varieties have significantly different hydration requirements, and knowing these differences before you start cooking saves a lot of frustration.
| Rice Type | Water per 1 Cup Rice | Typical Cook Time |
|---|---|---|
| White long-grain | 1.5 cups | 25–30 min |
| White short-grain | 1.25 cups | 20–25 min |
| Basmati | 1.5 cups | 25–30 min |
| Jasmine | 1.25–1.5 cups | 25–30 min |
| Brown long-grain | 2.0–2.25 cups | 45–50 min |
| Wild rice | 2.5–3.0 cups | 50–60 min |
One detail that trips up a surprising number of people: the measuring cup that came with your rice cooker is almost certainly not a standard U.S. kitchen cup. Most rice cooker cups hold around 150–180ml rather than the standard 240ml. The ratios printed in your manual and marked on the inner pot are based on that smaller cup. If you reach for a regular kitchen measuring cup without adjusting, your ratios will be off every single time — and the results will be frustratingly inconsistent for no obvious reason.
Always use the same measuring tool for both your rice and your water. Consistency is the foundation of repeatable results.
Should You Rinse Your Rice Before Cooking?
For most rice types and most rice cookers, yes — rinsing makes a genuine, noticeable difference to the finished result. The surface of milled white rice is coated in fine starch powder, and when that excess starch ends up in your cooking water it causes grains to clump together, turn gummy, and stick to the inner pot.
Rinsing rice before cooking can remove up to 75% of that surface starch. That’s a meaningful reduction, and it translates directly to fluffier, better-separated grains in the bowl. Rinsing also washes away any dust or debris picked up during packaging and storage — something worth considering given how long rice can sit in a warehouse or on a supermarket shelf.
Here’s the method:
- Add your measured uncooked rice to a bowl or directly into the inner pot
- Cover with cold water and swirl gently with your hand or a spoon
- Drain carefully, keeping the rice in the vessel
- Repeat 2–3 times until the rinse water runs mostly clear
- Drain well before adding your measured cooking water
There is one notable exception: sticky rice and glutinous rice varieties are supposed to be sticky, and the surface starch contributes to that characteristic texture. For those varieties, rinse lightly or skip it entirely depending on the recipe.
Some modern rice cookers include a dedicated setting for pre-washed rice, and understanding how your cooker’s no-rinse mode works can save you time on busy weeknights when you’re using pre-washed rice from the supermarket.
Which Settings Should You Use for Different Rice Types?
If your rice cooker offers more than one cooking setting — and most modern models do — using the right one for your rice type makes a noticeable difference. Each setting adjusts heating pattern, timing, and sometimes steam levels to match the specific requirements of that grain. Using the wrong setting is a common and easily overlooked cause of undercooked or unevenly cooked results.
Here’s a quick breakdown of the most common settings and when to use them:
- White / Regular: Suitable for most long-grain and medium-grain white rice, including Basmati and Jasmine in most cases
- Brown rice: Uses a longer, lower-temperature cycle — essential for brown rice’s tougher outer bran layer, which needs 45–50 minutes to fully hydrate and soften. Never substitute the white rice setting for brown rice
- Quick cook: Cuts cook time by 30–50%, trading some texture quality for speed. Good for rushed meals where perfect texture is secondary
- Porridge / Congee: Extended slow cook with higher water ratios, producing a smooth and creamy consistency
- Sushi / Short-grain: Slightly firmer finish, designed for Japanese-style short-grain rice
- Steam: Uses cooking steam to gently cook vegetables, fish, or dumplings in a steam basket above the rice — an easy way to prepare a complete meal in one appliance
Premium rice cookers with fuzzy logic technology fine-tune these settings in real time, adjusting heat and timing based on what’s actually in the pot rather than following a fixed programme. This makes them considerably more forgiving when your ratio is slightly off or when you’re cooking a less common variety. If your model is a simple one-switch cooker, adjusting the water ratio is your primary lever — and it’s entirely sufficient for excellent results.
Why Does My Rice Keep Coming Out Soggy or Too Dry?
Texture problems are the most common rice cooker complaint, and the fix is almost always simpler than people expect. In the vast majority of cases, the culprit is the water ratio — but a few other factors can contribute, so it’s worth working through them systematically.
If your rice is soggy or watery: You’ve added too much water. Try reducing the water by about 2 tablespoons per cup of rice and cook a fresh batch. Also check that your lid seals properly — a warped edge, a missing gasket, or a poorly seated lid lets steam escape, which throws off the moisture balance inside the pot.
If your rice is too dry or undercooked: You’ve used too little water, or steam has been escaping during the cook cycle. Add slightly more water next time and resist the urge to lift the lid while cooking — each peek releases a burst of steam that can noticeably affect the outcome, especially in the final stages.
If you’ve added spices, oil, or other ingredients: these change how quickly the rice absorbs liquid. Oil creates a coating on the grains that slows water uptake; aromatics can accelerate it. Start by reducing your water by 1–2 tablespoons per cup of rice and adjust from there.
An often-overlooked cause of both texture issues and wasted rice is the steam vent. If your cooker is bubbling over or producing excessive steam, that’s a signal something needs attention — resolving rice cooker overflow and steam vent problems typically fixes the mess and the underperforming results in one go.
How Do You Prevent Rice from Burning or Sticking?
A scorched layer at the bottom of the inner pot is one of the more frustrating rice cooker outcomes — especially when the rice above it cooked perfectly. Burning almost always traces back to one of three causes: insufficient water, unrinsed rice, or the keep-warm function running for too long on an already-dry batch.
Food safety experts and culinary professionals consistently note that rice left on keep-warm for more than 4–5 hours begins to dry out, and the bottom layer becomes increasingly prone to scorching. If the cooking result was already on the drier side, that timeline shortens considerably.
- Fix the water ratio first. If rice is burning before keep-warm even activates, that’s a clear sign more water is needed at the cooking stage.
- Rinse your rice. Surface starch from unrinsed grains clings directly to the bottom of the pot and scorches readily under heat.
- Don’t cook below the minimum quantity. Most rice cookers specify a minimum of 1 cup of uncooked rice. Smaller quantities heat unevenly and are far more prone to burning at the base.
- Inspect the inner pot’s coating. If the non-stick surface is scratched, chipped, or peeling, rice will stick and burn far more aggressively regardless of water ratio. A damaged coating cannot be repaired — replace the inner pot.
- Transfer rice after cooking if you’re not eating immediately, rather than relying on keep-warm for extended periods.
Does Altitude Affect How Your Rice Cooker Performs?
This catches a lot of people by surprise — altitude genuinely affects how your rice cooker performs, and at higher elevations the effect is not subtle. The physics is simple: at higher altitudes, atmospheric pressure is lower, which means water boils at a lower temperature.
At sea level, water boils at 212°F (100°C). At 5,000 feet above sea level, that drops to around 202°F (94°C). At 8,000 feet, it falls further to approximately 197°F (92°C). Because your rice cooker’s thermal sensor is calibrated to detect when liquid has boiled off at standard sea-level temperature, a lower boiling point means the sensor triggers earlier — before the rice has had enough time to cook through.
If you live above roughly 3,500 feet (around 1,070 metres) and your rice consistently comes out undercooked despite following the instructions exactly, altitude is likely the cause. Cities like Denver, Colorado (5,280 ft), Bogotá, Colombia (8,660 ft), and Addis Ababa, Ethiopia (7,726 ft) are well-known examples where kitchen altitude adjustments are genuinely necessary.
The fix is straightforward: add approximately 2–4 extra tablespoons of water per cup of rice, and extend the cooking time by 5–10 minutes if your cooker allows it. The exact adjustment varies between models, so keep brief notes on what works in your specific kitchen — your own data will always be more reliable than generic guidance at altitude.
How Should You Use the Keep-Warm Function?
The keep-warm function is one of the most genuinely useful features on a rice cooker — but also one of the most misunderstood. Used well, it holds rice at a safe serving temperature for hours without any extra effort. Used carelessly, it slowly dries out your rice and eventually scorches the bottom layer.
Most rice cookers maintain a keep-warm temperature of approximately 140°F (60°C), which food safety guidelines recognise as the minimum temperature for preventing bacterial growth in cooked rice. Understanding exactly what your keep-warm function does — and how long it stays effective — will help you decide whether to use it or simply refrigerate the rice and reheat when needed.
Rice maintains ideal texture and moisture on keep-warm for up to 2 hours. After 4–5 hours, quality declines noticeably and the risk of scorching increases significantly.
- 0–2 hours: Optimal keep-warm window — rice holds texture and moisture well throughout
- 2–4 hours: Acceptable, though the rice may begin to dry slightly at the edges. Adding a tablespoon of water before the keep-warm cycle starts helps maintain moisture
- 4–5 hours: Outer limit — texture degrades noticeably and the bottom layer is at increasing risk of scorching
- Beyond 5 hours: Not recommended — refrigerate and reheat with a splash of water when needed; it takes minutes and produces better results than hours on keep-warm
Can You Cook More Than Just Rice in a Rice Cooker?
Absolutely — and this is where a lot of people discover that their rice cooker is far more versatile than they initially realised. The controlled, sealed heating environment that makes a rice cooker excellent for rice also works well for a wide range of other grains, legumes, and even full meals.
Some of the most practical and popular alternatives include:
- Quinoa: Use a 1:1.75 water ratio and cook on the white rice setting — ready in about 25 minutes when the liquid is absorbed and the germ rings have separated from the grain
- Oatmeal: Add rolled oats and water at a 1:2 ratio, use the porridge setting if available — creamy, hands-free, and ready in about 20 minutes
- Lentils: Red lentils work especially well — use 2.5 cups of water per cup of lentils and run a standard cook cycle, checking for doneness after about 30 minutes
- Steamed vegetables: Place vegetables in the steam basket above the cooking rice for a complete side dish with zero extra effort or dirty pots
- Soups and stews: Models with a dedicated soup or slow-cook setting handle liquid-based dishes effectively — a surprisingly underused feature on many modern cookers
The key rule when cooking non-rice foods: never apply rice ratios directly. Each food has different hydration requirements and cook times. Start conservative, keep brief notes, and dial it in over a couple of test runs.
How Do You Clean and Maintain Your Rice Cooker?
Regular cleaning is one of the simplest and most overlooked ways to keep getting great results from your rice cooker. Starch residue, hard water scale, and food buildup all gradually degrade how well the cooker heats and seals — and the decline is slow enough that many people don’t connect the cleaning habits to the worsening results.
Properly cleaning your rice cooker takes under 5 minutes after most uses. Here’s the maintenance schedule that keeps a cooker performing at its best for years:
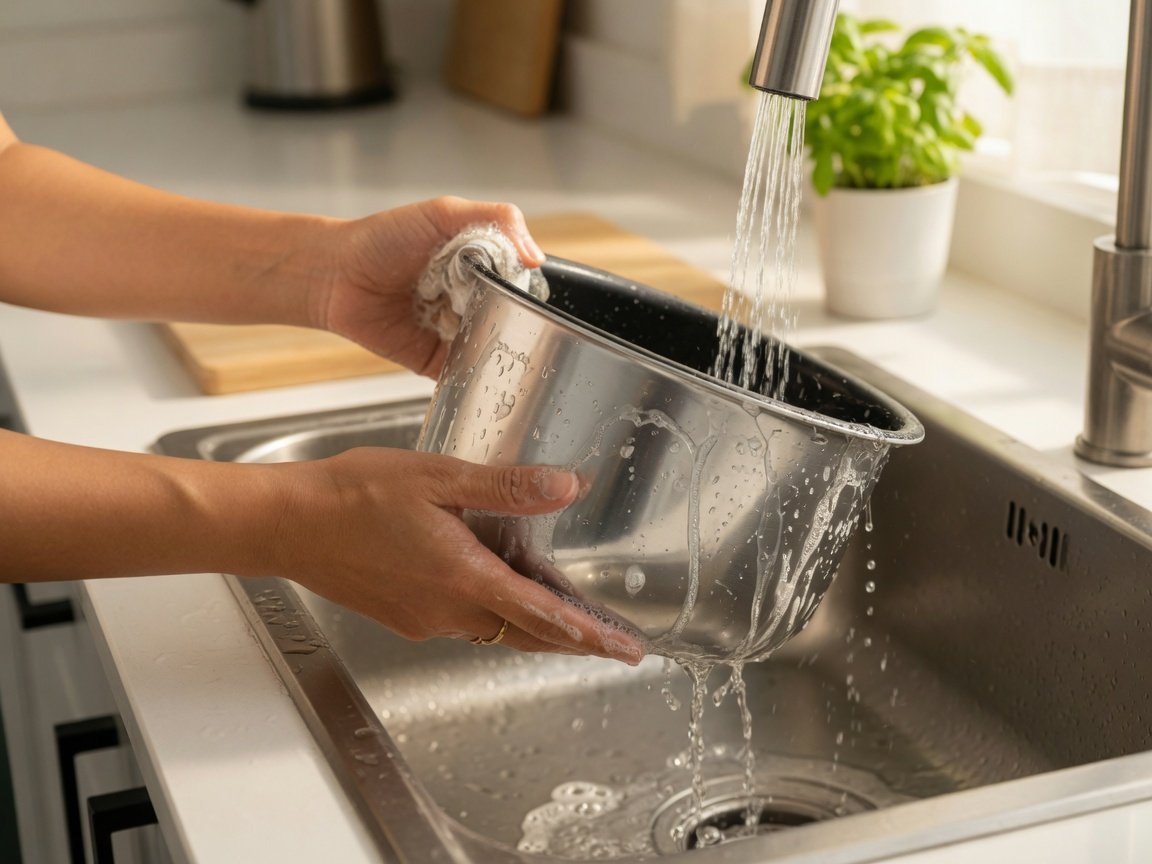
- After every use — inner pot: Remove and wash with warm soapy water, then dry thoroughly before replacing. Never use abrasive scrubbers on a non-stick surface — they damage the coating and significantly worsen sticking over time.
- After every use — heating plate: Wipe with a damp cloth. Even a thin layer of starch or dried food residue on the heating element reduces heat transfer efficiency and can cause uneven cooking.
- Weekly — steam vent: Remove and rinse. Starch from the cooking water clogs the vent over time, which affects how well the cooker manages steam pressure during cooking cycles.
- Weekly — lid seal: Wipe the rubber gasket or seal on the lid. Starch buildup here prevents the lid from seating correctly, which directly affects steam retention and cooking results.
- Monthly — descale: Fill the inner pot with water and add a tablespoon of white vinegar. Run a full cook cycle, then discard and rinse thoroughly. This removes mineral scale and any lingering food odours without any harsh chemicals.
Frequently Asked Questions
How much water do I need for 2 cups of rice in a rice cooker?
For 2 cups of white long-grain rice, use 3 cups of water — a 1:1.5 ratio. For 2 cups of brown rice, use 4 to 4.5 cups of water. The most important detail: always use the same measuring tool for both rice and water. If your cooker came with its own measuring cup, use it — the ratios in your manual and on the inner pot are calibrated to that cup specifically, not a standard 240ml kitchen measure.
Can I open the rice cooker lid while it’s cooking?
You can, but it’s best to avoid it. Opening the lid releases steam and disrupts the pressure balance inside the cooker. This can lead to uneven cooking or undercooked grains, particularly in the final stages of the cycle. A properly set up rice cooker doesn’t need checking — trust the process and keep the lid closed until the cycle ends.
Why does my rice cooker overflow or boil over?
Overflow is usually caused by too much water, too much rice, or a blocked steam vent. Check that you haven’t exceeded the maximum fill line on the inner pot. Reducing the water by a couple of tablespoons and cleaning the steam vent typically resolves it. Rinsing your rice before cooking also helps significantly — surface starch from unrinsed grains forms foam during boiling, and that foam is often the direct cause of the overflow.
How long does rice stay safe in keep-warm mode?
Rice is best consumed within 2 hours of cooking for optimal texture and moisture. It remains safe for up to 4–5 hours in keep-warm mode, provided the temperature stays at or above 140°F (60°C). Beyond that point, food safety becomes a concern and the texture will have degraded noticeably. For anything longer, refrigerate the rice promptly and reheat with a splash of water when you need it.
Does rinsing rice actually make a difference in a rice cooker?
Yes — for most rice types, particularly white rice, the difference is genuinely noticeable. Rinsing removes excess surface starch that causes grains to clump together and stick to the inner pot, resulting in fluffier and better-separated cooked rice. The exception is sticky rice and glutinous varieties, where the starch is part of the intended texture. For those, rinse lightly or not at all depending on the dish.
Is it safe to leave a rice cooker unattended while it’s running?
Yes. Rice cookers are specifically designed to operate unattended — the automatic shut-off is a core safety feature, not an optional extra. You can start a batch and leave the kitchen without concern. That said, leaving a cooker on keep-warm for extended periods of 5 hours or more is not ideal — switch it off and refrigerate the rice if you’re going to be away for most of the day.
What should I do if my rice cooker won’t turn on?
Start with the basics: check that the power cord is fully seated, the inner pot is correctly positioned (the cooker won’t activate if the pot isn’t seated on the heating element properly), and the lid is closed. If none of those resolve it, the issue may be electrical. Most common electrical faults are diagnosable without professional help, and the fix is often simpler than you’d expect.
Putting It All Together
Getting consistent, great-tasting rice from your rice cooker doesn’t require any special tricks — just a few good habits applied consistently. Measure your water and rice with the same tool. Rinse first. Use the right setting for your grain. Keep the cooker clean. And don’t leave rice sitting on keep-warm for hours when refrigerating and reheating takes just minutes.
Here’s a simple timeline to put it all into practice:
- Today: Check the markings on your inner pot and confirm you’ve been measuring with the correct cup — this single check fixes most chronic ratio problems instantly
- Next batch: Rinse your rice before cooking and compare the texture to your previous results. Most people notice the difference immediately
- This week: Locate and clean the steam vent — a 5-minute job that most rice cooker owners have never done
- This month: Run a descale cycle with white vinegar to clear any mineral buildup from the heating plate and inner pot
- Ongoing: Keep brief notes on ratio adjustments that work in your kitchen — your cooker model, your local water, your altitude, and even your preferred rice brand all play a role, and your own records will always outperform generic instructions
A well-maintained rice cooker used with the right technique is one of the most reliable appliances in the kitchen. The issues most people run into are fixable in minutes — and once you’ve dialled in your process, perfect rice stops being a pleasant surprise and becomes the expected outcome.
—