I’ve often thought that cooking rice can seem like a simple task, but achieving the perfect texture and flavor can also be a challenge.
If you have had the same experience then, don’t fear because this article will guide you through the process of cooking rice in a rice cooker, while observing the correct ratios to get repeatable, and high-quality, results.
Table of Contents
The Basics
Rice cookers are versatile kitchen appliances that can cook a variety of grains, including white rice, brown rice, medium grain, sushi rice, and even oats or porridge. However, despite their simplicity, the key to using a rice cooker effectively is understanding the measurements and settings.
Most rice cookers come with a small plastic scoop.
This scoop is pre-measured to correspond with the numbers inside the wall of the rice cooker. For example, if you put four scoops of rice into the cooker, you would then add enough liquid to reach the fourth line inside the cooker.
How Much Water Should I Add?
The simple answer is – it depends. Brown rice takes more because it cooks longer and sticky rice, for example, needs a bit more to achieve the right texture. However, as a rough guide, you should use the following amounts of water depending on the number of cups of rice you are cooking.
| Number of Cups of Rice | Amount of Water (Cups and mL) |
|---|---|
| 1 | 1 cup (approx. 180 mL) |
| 2 | 2 cups (approx. 360 mL) |
| 3 | 3 cups (approx. 540 mL) |
| 4 | 4 cups (approx. 720 mL) |
| 5 | 5 cups (approx. 900 mL) |
Remember, the lines in most rice cookers are designed to provide the correct water-to-rice ratio for optimal results. If your rice cooker does not have these markings, a general rule of thumb is to use about 1.5 to 2 cups of water for each cup of rice.
Rinsing the Rice
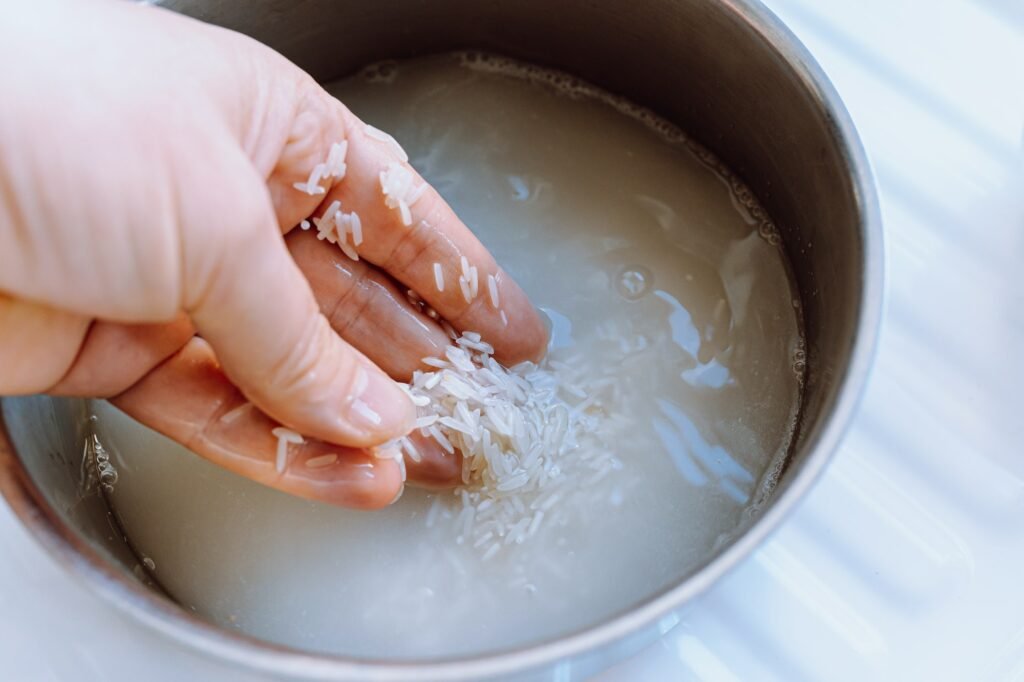
One common question is whether or not to rinse the rice before cooking.

Rinsing the rice can help to remove excess starch, which can make the rice stickier. If you prefer your rice to be more separated, rinsing is a good idea. However, if you prefer stickier rice, you can skip this step.
Cooking the Rice
Once you’ve measured your rice and liquid, simply put them into the rice cooker and close the lid.
If your rice cooker has different settings, make sure to select the one that matches the type of rice you’re cooking. If your rice cooker only has a start button, that’s okay too. Just press start and let the rice cooker do its job.
The Result
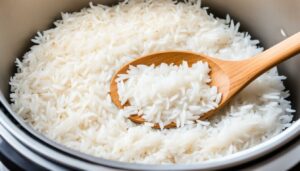
The beauty of using a rice cooker is that it takes care of the cooking process for you, freeing you up to prepare other parts of your meal. Once the rice is done, it should be fluffy and perfectly cooked. Use a rubber spatula to fluff the rice and serve it in a bowl.
Rice cooked in a rice cooker can be stored in the fridge for three to four days, making it a great meal prep option. Whether you’re making grain bowls or just need a side dish, rice cooked in a rice cooker is a simple and reliable choice.
Conclusion
Cooking rice in a rice cooker is a straightforward process, but understanding the measurements and settings can make a big difference in the final result. With a little practice, you can make perfect rice in your rice cooker every time.


